Last week my husband celebrated his 40th birthday. This momentous birthday happened to coincide with my need to try out a tiered cake.
If you had asked me a year ago if I’d ever make a tiered cake, I probably would laughed, but here I was, scheming to plan a party for my husband so I’d have an excuse to make one. Making a crazy tiered cake for my husband’s birthday party seemed a little over the top, even for his 40th birthday, so I asked two friends who also have October birthdays if they wanted to celebrate together. Three cool people, three birthdays, three layers of cake — a perfect combination.
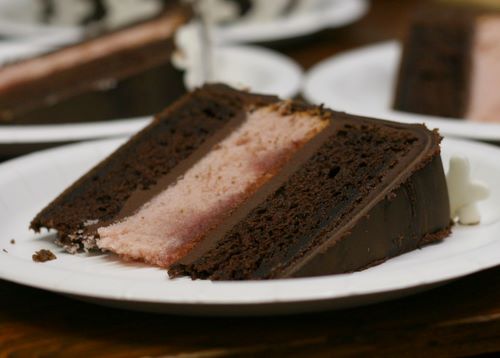
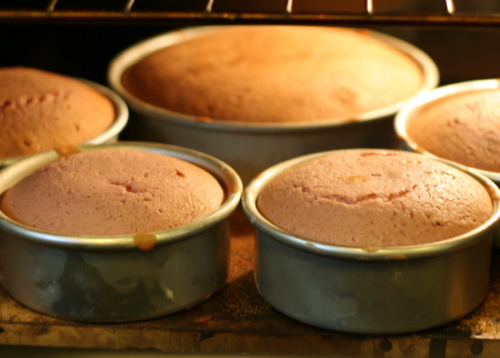
My husband had dropped some not so subtle hints about a chocolate cake with chocolate frosting. Since I knew I’d have to make multiple batches to fill three 8-inch pans, three 6-inch pans, and two 5-inch pans, I asked what he thought about layering in some strawberry cake as well.
Scaling two different recipes into eight cake pans didn’t make the math any easier for me, though. I finally admitted defeat and asked my husband to help me with the spreadsheet I had started to calculate the volume of cake batter I needed.
I rarely use Excel anymore, but my husband uses it to analyze data for experiments all the time. Say you wondered what would happen if you raised limpets in seawater with varying CO2 concentrations. He has hundred-page spreadsheets that analyze the effects of such a treatment on their food intake, shell strength, radulae development, or whatever. Yeah. At least this is what I imagine keeps him busy when he’s not traipsing through the intertidal pretending to work. In any case, I pushed my laptop in his direction just as soon as he agreed to help me.
Numbers started flying all over the place. Formulas appeared and cell contents moved and reappeared as if by magic. In no time, I knew I that one and a half recipes of chocolate cake would fill two 8-inch pans, two 6-inch pans, and one 5-inch pan. A single recipe the addictive strawberry cake recipe I’d recently tried from Smitten Kitchen would fill one 8-inch pan, two 6-inch pans, and two 5-inch pans. His willingness to scale the strawberry recipe assured me that he felt okay about layering it into the mix.
Making one recipe of strawberry cake would actually give me two extra cake layers. It seemed silly to scale down the full recipe to an odd proportion to make it fit into the number of pans I needed, especially when I saw an extra layer or two as a bonus. My biggest concern about making this cake centered on leveling it. I like to eyeball things, which doesn’t always turn out for the best when cutting rounded tops off of cakes so they’ll stack well. I’ve made some lopsided cakes, it’s true, but this has never really mattered so much before. I knew that once I started stacking cake upon cake upon cake, a little lopsidedness would surely result in enormous disaster. These extra layers would be my insurance in case I really screwed up my trimming.
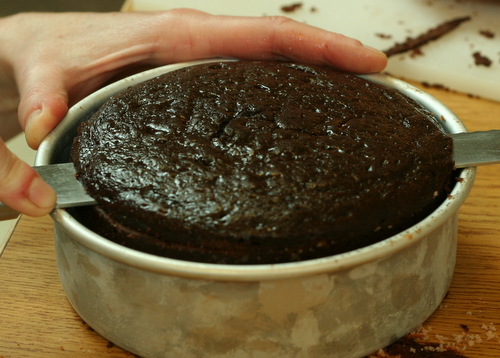
I’d decided to try finding some object of the right thickness to drop in the cake pans underneath the baked and cooled cakes. This would enable me to use the edge of the pan to guide the knife while trimming, which would ideally result in a smooth, level surface. I had some cardboard cake rounds, but they were too thin. In the end, I used some of my kids’ foam letters. They worked perfectly. I hope my kids don’t miss their letters, which I’ve now claimed as my own.
I had ambitious visions of covering the cake in chocolate plastic. My sister introduced me to this chocolate play dough-like stuff at one of my niece’s birthday parties about five or six years ago. When her girls were small, she always made a few batches for kids to shape into edible treats as a party activity. I’d played with it many times, but when I had tried using it to cover a cake, things went seriously amok.
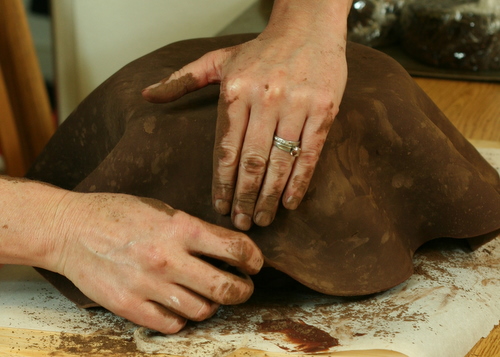
Chocolate plastic doesn’t stretch like fondant, so if you’re not careful, you end up with big folds down the side of the cake. In my previous attempt, I had pulled and stretched as much as I could, but I still ended up with unsightly folds. I used my hair dryer to warm the chocolate and smooth it out, but it just didn’t look great. After that disaster, I tried making chocolate fondant, but it didn’t taste like chocolate and it didn’t look like chocolate, so really, there was no point in pursuing this option.
In the end, I just decided to try the chocolate plastic one more time. I’m always telling my kids that you can’t get better at something if you don’t give it your best effort, so that was my plan. Best effort. And if the cake looked crappy, I figured my family and friends would still love me. I made a batch of chocolate plastic and let it cool for several hours before applying a thin layer of chocolate sour cream frosting to the cake.
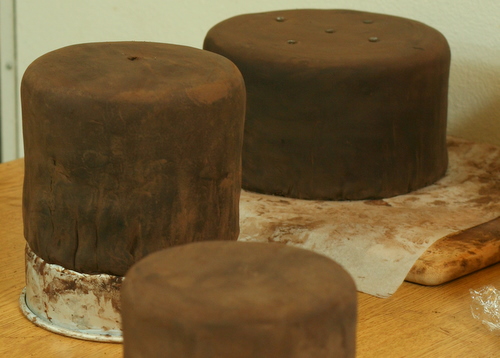
My husband, who has infinitely more patience than I do, helped me ease my flattened disk of chocolate plastic down the sides of the cake, stretching and stretching slowly until we’d covered it without too many wrinkles. It wasn’t perfect, but I planned to wrap the bottom edge with a band of chocolate plastic, so it would do. With new confidence, I made one and a half more batches of chocolate plastic.
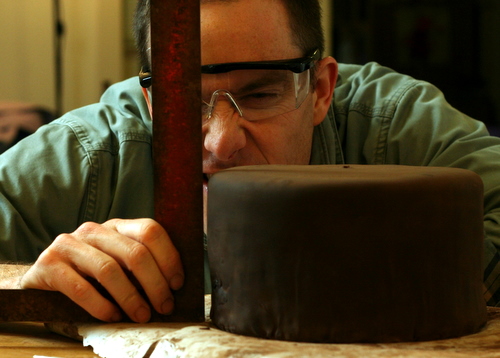
The bottom two tiers needed dowels to hold the weight of the top tiers; I delegated this task to my husband. He bought some clear plastic tubing that he cut to size once the cakes were frosted and chocolate plastic wrapped. I don’t even own safety glasses, so I clearly needed help with this. I inserted his five perfectly-sized dowels in the bottom two tiers.
A few hours before the party, I trudged the cakes and all of my decorating supplies to our party location. I used the hair dryer to smooth imperfections in the cakes’ surfaces and dusted them with cocoa powder for a matte finish.
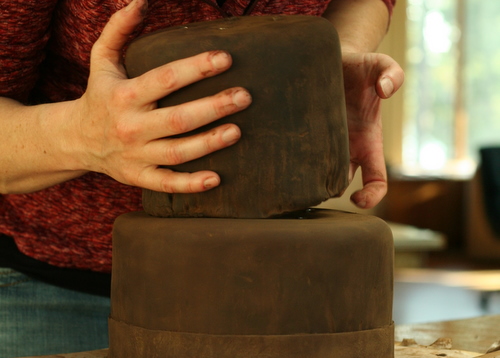
Stacking the cakes felt almost anticlimactic. My mostly level cakes resting on cardboard rounds and inserted with supporting dowels made a surprisingly lovely chocolate tower. I used a small paint brush to dampen the bands of chocolate plastic I’d cut to encircle the bottom of each layer. By this point, I almost felt like I knew what I was doing.
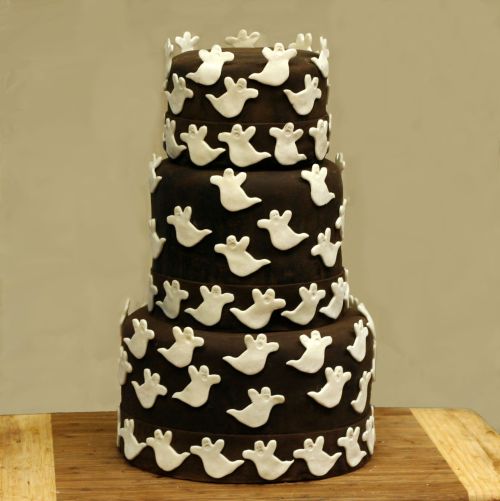
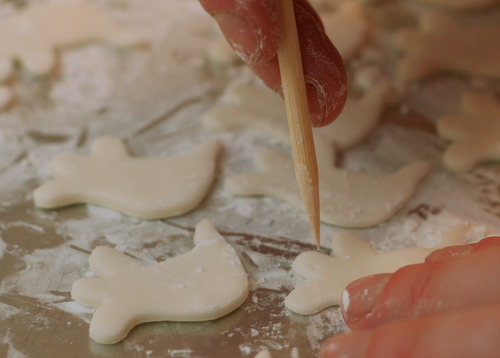
Two days beforehand, I had rolled out white marshmallow fondant and cut out about a million tiny ghosts for decorating the cake. Rain had poured down during those two days, so instead of the hardened ghosts I’d planned for, the damp air turned them into a gooey mess. Fortunately I had some leftover fondant, so I made more ghosts without too much trouble.
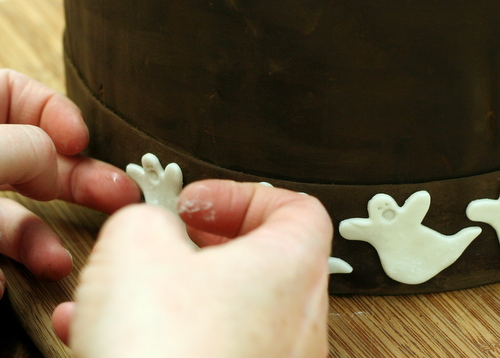
Initially, I had planned to put ghosts around the bands at the bottom of each cake. I dabbed each ghost with a bit of water to help it adhere.
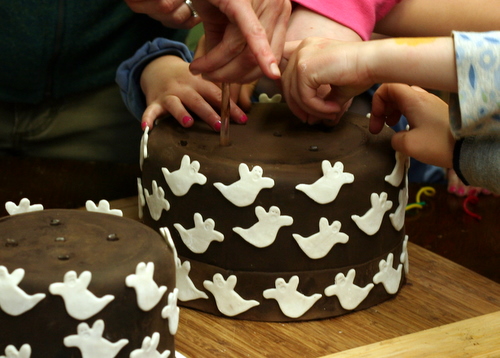
Once I finished, it looked pretty good. I asked my daughter Eliza if she thought it needed more ghosts; I just couldn’t decided if it looked finished or not. She voted for more, so I started adding ghosts here and there. In the end, I liked the look, but I wish I had planned it out ahead of time so the ghosts floated around the cake in a more organized pattern.
I finished decorating just before the party started.
 At the end of the evening, I noticed a smear of cocoa powder on my cheek. I’m guessing it was there all night. Sweet.
Chocolate Plastic
From Chocolate, by Nick Malgieri. Makes about 1 1/4 pound.
2/3 cup light corn syrup
16 ounces semisweet chocolate, melted
1 cookie sheet or jelly roll pan covered with plastic wrap
cocoa powder, for rolling
Melt chocolate in the microwave or in a double boiler. Stir in corn syrup thoroughly with a silicone spatula. Scrape down the sides to incorporate any unmixed chocolate clinging there.
Scrape the chocolate plastic out onto the prepared pan and spread mixture no more than 1/3 inch thick. Draw the plastic wrap up around the chocolate to cover it completely.
Allow to cool to room temperature for several hours. If you need to use it quickly, cool it in the refrigerator before using it.
Before rolling or shaping, dust surface with cocoa powder to prevent sticking.
Framboise & Creme de Cacao Syrup
Brush the tops of your cake with a simple syrup before frosting to keep your cakes moist.
1/3 cup framboise
1/3 cup creme de cocoa
1/4 cup sugar
Combine ingredients in a small sauce pan. Cook, stirring with a wooden spoon over low heat until most of the sugar is dissolved. Do not stir again. Brush down the insides of the pan with a wet pastry brush and bring to a simmer. Cover and simmer gently for 2 minutes. Remove from heat and let cool, uncovered, before using.
Some of the links in this post are affiliate links. If you click through and make a purchase, I earn a small commission for my referral at no additional cost to you. Thank you for supporting Flour Arrangements.


what a boo-tiful ghost cake!
Thank you for sharing this masterpiece and incredibly time-intensive labor of love with us. Your attention to detail is mind-boggling!
Just catching up on your blog. We miss you guys. Gregory loves the look of those doughnuts. We wish you could join us for Thanksgiving. I’m sure your pies are the best!
suzanne you are amazing. good cake maker and writer. cheers.
You take my breath away with your creations. Amazing.
Beware asking a scientist to help you bake! I love the pic of Moose with the safety glasses. Inspiring cakes, Suzanne!