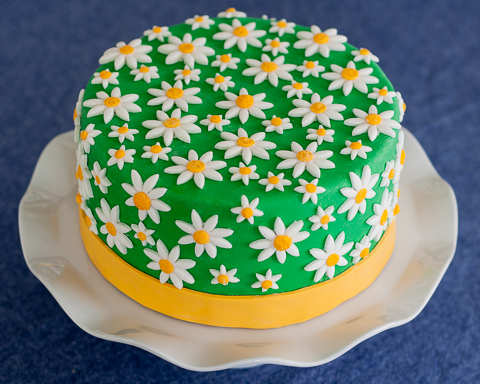
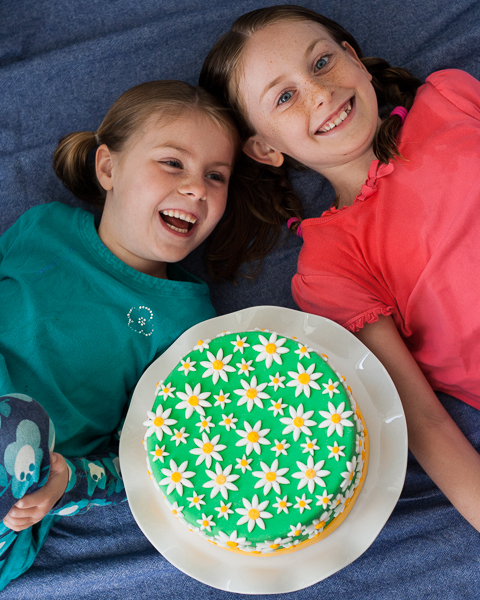
Small cookie cutters make it easy to decorate a cheery Daisy Cake using marshmallow fondant.
After last year’s gingerbread Ferris wheel project, I breathed a sigh of relief when Eliza asked for a daisy cake for her birthday this year.
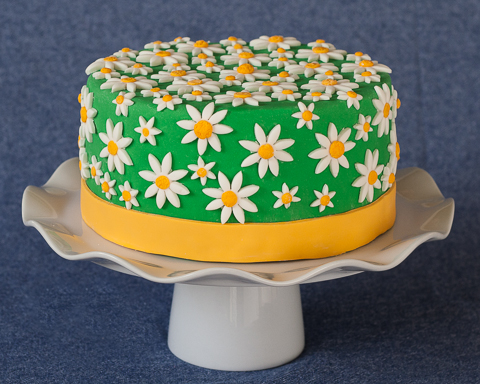
I pictured a cake with no moving parts, one that required no odd-shaped pans or carving to achieve an elaborate form, and one that didn’t require an eruption to complete its effect. This seemed almost too good to be true, so I asked Eliza to sketch the cake. Fortunately, it looked just like I imagined it would: a simple layer cake topped with green fondant and covered with lots of little daisies.
Making the cake turned out to be as easy as I’d hoped. I’ve had plenty of practice making fondant shapes with cookie cutters, including hearts, balloons, and even diamonds. Repeating basic shapes on a cake is an simple trick for creating a dramatic effect.
In addition to the simplicity of decorating with cookie cutter shapes, I had another thing going for me. I recently discovered that using thick chocolate ganache instead of frosting makes it easier to create a smooth, even finish on a fondant-covered cake. After trying it on Tessa’s birthday cake, I knew I’d never go back to butter cream.
Not only does it make for a less stressful process and a more polished end-product, the ganache itself tastes spectacular. Melted chocolate mixed with a bit of cream, of course, rarely disappoints; combined with three layers of this rich chocolate cake, it tasted especially awesome. I promise to share the recipe and directions as soon as I’ve completely mastered the process.
Once I got started decorating, I found that the cake required just one batch of marshmallow fondant. I always have extra ingredients on hand to make another batch or two if needed, but I felt relieved when, after coloring two-thirds of the fondant green to cover the cake, I had more than enough leftover to fashion white daisies, their yellow centers, and the band on the cake. I love it when this happens; even though marshmallow fondant is not hard or time-consuming to make, it does generate a significant mess.
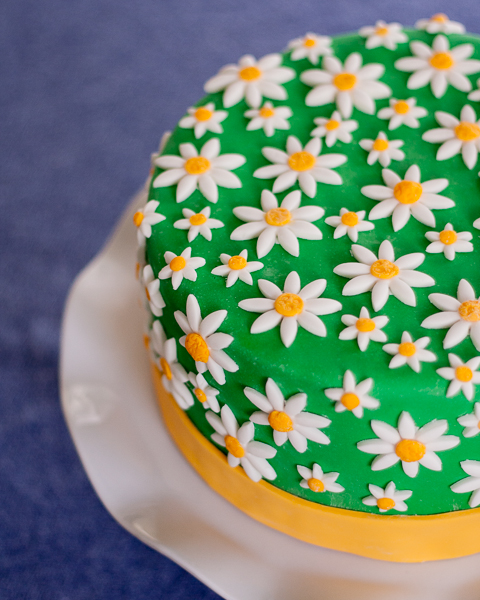
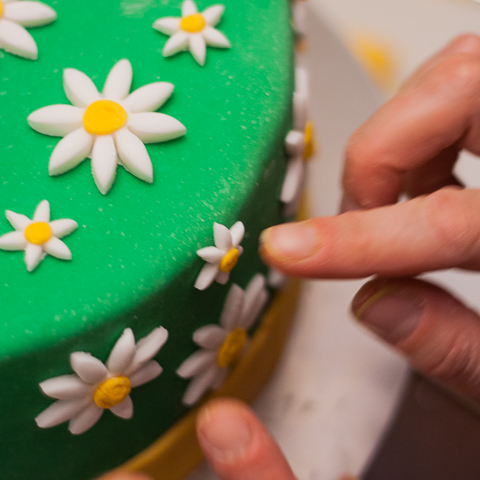
After covering the cake and wrapping the yellow band around its bottom edge, I got to work creating flowers with my new daisy cookie cutters. The fondant tended to stick in the tiny cutters, but dusting them generously with corn starch and pressing the end of a skewer directly in the center of each fondant flower helped release them without any distortion. Since I added a yellow disk in each daisy’s center, the skewer marks didn’t show on the finished flowers.
For the yellow disks, I rolled tiny balls of fondant, which I flattened and then roughed up with the end of a small paint brush for texture. I dabbed the lightly dampened brush-end on the center of each white daisy before pressing a yellow disk in place.
I wasn’t looking to space the flowers in an even pattern, so I simply attached the daisies as I made them, using the damp paint brush to help them adhere. This meant that I could stop making flowers when the cake looked finished.
When I’ve made cakes with more careful spacing between elements, I usually cut the pieces before I start decorating. Somehow I always end up with a huge pile of extra shapes. These I hand over to my kids, along with any remaining fondant. They make edible sculptures that they want to keep forever but fortunately can’t resist eating anyway.
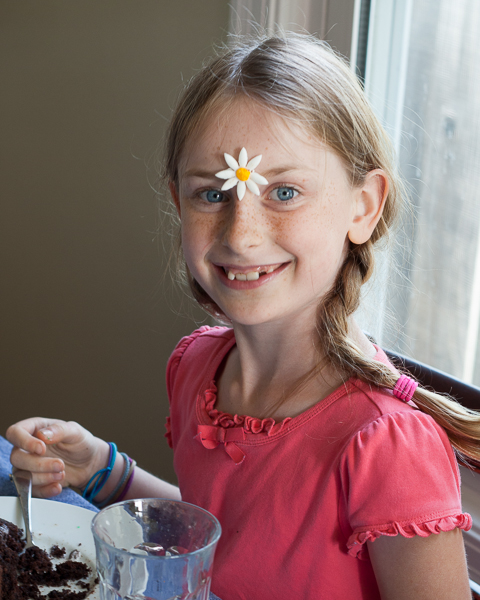
Since my kids didn’t have the chance to work with fondant before the party this time around, they got creative when we served cake, turning fondant daisies turned into edible body art.
This easy decorating project freed up enough time for me to plant real flowers in my yard the weekend of Eliza’s party. While these real flowers will take more time to bloom than ones on the cake, they’ll stick around a whole lot longer.
Some of the links in this post are affiliate links. If you click through and make a purchase, I earn a small commission for my referral at no additional cost to you. Thank you for supporting Flour Arrangements.


What a beautiful spring cake! Love her idea and your execution 🙂
Thanks, Anna! This was a fun cake to make!