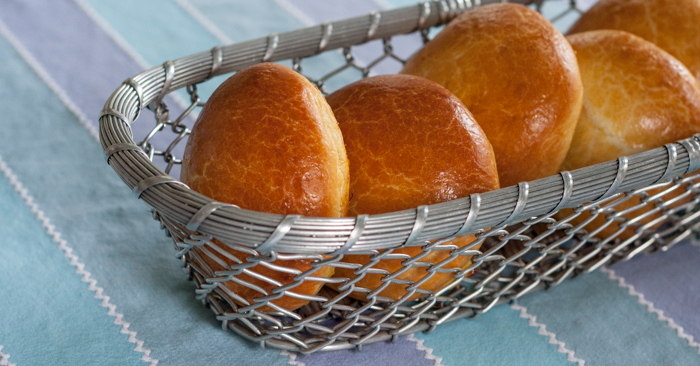
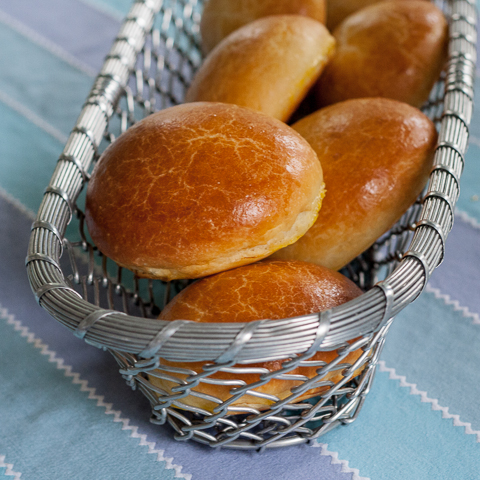
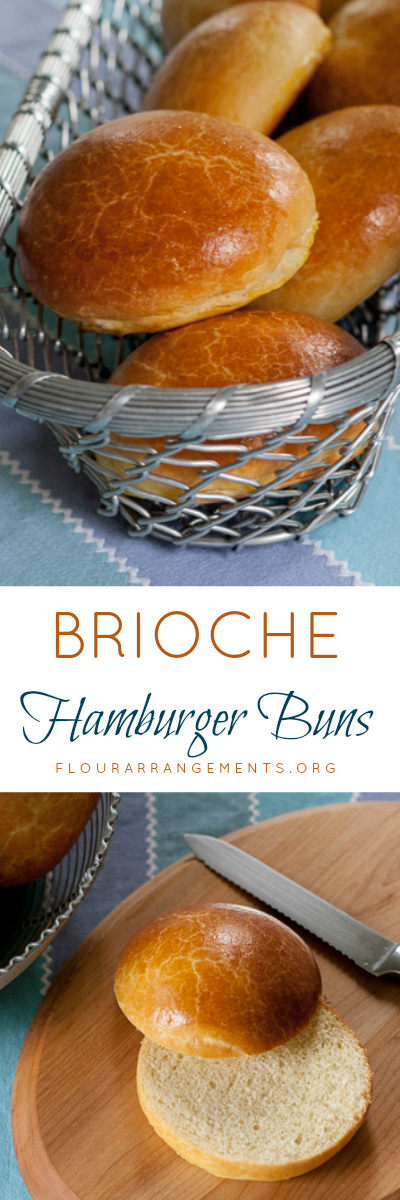
Take your burgers to the next level with brioche hamburger buns. Their flaky, tender texture and rich, buttery flavor make them well worth the effort.
The other morning, six-year-old Tessa said,”I want to do a baking project today called ‘not those buns.'”
Frankly, I felt the same. I’d baked brioche hamburger buns nearly every day for a week.
Ever since I’d feasted on pulled pork layered thickly into a toasted brioche bun at Dad’s Diner A Go-Go in Anacortes, WA, I’d become obsessed with creating the perfect brioche bun.
I’d gotten damn close, too. Time and time again, the rolls emerged from the oven with a flaky, tender texture and a rich, buttery flavor.
We’d savored them with hamburgers, sloppy joes, and roast beef. My daughters popped them in the toaster with abandon and gobbled them down with butter and honey for breakfast.
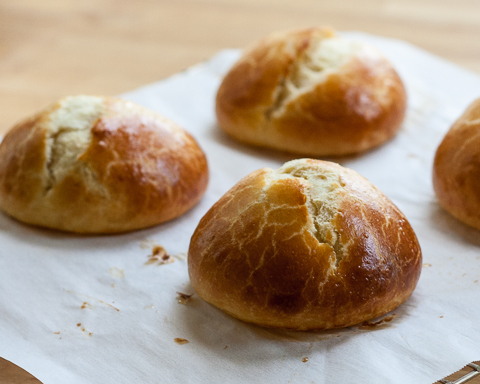
These brioche buns were perfect in every way but one: they always cracked down the middle while baking.
Since I had my heart set on baking buns with an even, golden finish, I needed to try one more time. If this didn’t work, I promised my kids that I’d let it go.
By this point, I could make brioche dough by heart. Despite my aesthetic failures with these buns, brioche is easy to make.
It does take some time, but most of that time involves rising rather than active work. This meant that my daughters and I could prepare the yeasted dough and still bake a chocolate cake if they wanted.
This seemed to appease them, and Tessa grudgingly helped by adding flour and tossing hunks of butter into the smooth, sticky dough. Eliza, who didn’t care if I ever made brioche again, wanted no part in the project; she read on the couch while we worked.
After letting the dough rise all day, I shaped it into tidy spheres under my cupped hand before dragging each one across my work surface. The balls looked miraculously smooth and tight, but as I flattened them with my fingers, I had a moment of panic; I worried that I was destroying the perfect tension I’d just figured out how to achieve.
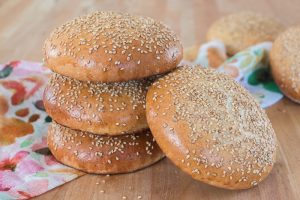
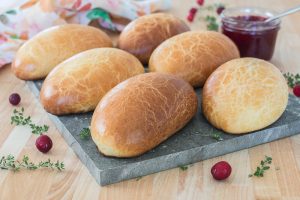
I didn’t peek in the oven at all until the timer beeped. When the time came to check on them, I almost couldn’t believe my eyes: I’d finally created the smooth, round buns I’d always imagined baking.
I’m not sure who felt happier, me or my kids.
The next morning at breakfast, Eliza grabbed a glossy, uncracked bun and popped it in the toaster. Before the end of the day, my girls had polished off half of the buns by themselves.
Guess they’re not so tired of them after all.
Brioche Burger Buns
Ingredients
- 1/3 cup + 2 tablespoons whole milk warmed (between 105 -115° F)
- 2 1/4 teaspoons active dry yeast
- 4 large eggs divided
- 1 cup unbleached all-purpose flour
- 3 tablespoons sugar
- 1 1/2 teaspoons salt
- 2 cups bread flour
- 3/4 cups (1 1/2 sticks) butter softened
Instructions
- Combine milk and yeast in the bowl of a standing electric mixer. Let stand until yeast is dissolved, about 5 minutes. In a small bowl, lightly beat 3 of the eggs. Set aside.
- Add all-purpose flour, beaten eggs, sugar, and salt to the yeast mixture. Mix on low speed until evenly combined.
- Add bread flour, 1/2 cup at a time, and mix until well blended. Switch to the dough hook and knead on low speed until the dough for 8 to 10 minutes. The dough should be smooth (but still sticky) and clear the sides of the bowl.
- Add butter one tablespoon at a time, vigorously kneading with the mixer until all the butter is completely incorporated and the dough becomes smooth once again.
- Place the dough in a large, generously buttered bowl, cover with plastic wrap, and let it rise at room temperature until doubled in volume, about 1½ hours.
- Turn out the dough, punch it down, and knead it briefly, using a small amount of flour to prevent sticking if needed. Return the dough to the re-buttered bowl and refrigerate, covered, for 4 to 12 hours.
- Gently flatten the cold dough on surface dusted only very lightly with flour. Using a sharp knife or bench scraper, divide the dough evenly into 8 pieces for hamburger buns or 16 for slider buns. Working one at a time, knead a piece of dough briefly and then roll it into a ball by swirling it under a cupped hand on an unfloured surface.
- Once it's shaped into a smooth ball, tuck it under your thumb and gently drag the ball across the work surface, allowing the dough to pull tightly as it smooths the ball's surface. Place finished balls on baking sheets lined with greased parchment paper. Repeat with remaining dough.
- With your fingertips, gently press the balls flat. Brush their surfaces with the remaining egg lightly beaten with 1 tablespoon water. Cover with greased plastic wrap and let rise at room temperature until doubled, about 1½ to 2 hours.
- Just before baking, brush buns again with the egg mixture. Bake in an oven preheated to 375° F until golden brown, about 20 to 22 minutes for hamburger buns, 18 to 20 minutes for slider buns. Switch racks midway though time through for even baking.
- Cool on a rack before slicing, toasting, and serving.
Some of the links in this post are affiliate links. If you click through and make a purchase, I earn a small commission for my referral at no additional cost to you. Thank you for supporting Flour Arrangements.




Glad I could help! Thanks for the link. These look delicious I’ll definitely have to give them a try
Thanks, Ellen! You totally saved me!
Oooo… Lovely buns! 😉 I’m a sucker for golden brown and shiny rolls. These look yummy!
Thanks, Tran! Me, too.
Can you take a video of your technique to make the tops smooth? I’m a little unclear on the process. A video would be super helpful. Thank you :).
Thanks for asking about a video. I will try to do that next time I make these rolls or, at the very least, include some step-by-step photos! In the meantime, I’ll try to explain in a different way… Put your hand over the piece of dough (kind of like putting your hand over a computer mouse) and move it in small circles. As it bumps against your hand, it should form into a ball. Once it’s pretty round, simply drag the ball in your cupped hand to get a tight surface on the dough. Hope this helps! Let me know if you need more guidance!
I agree. A video would be VERY helpful.
I will try to make one, Kathy!
Would they still come out okay if you didn’t have bread flour, but just used all all-purpose? I so want to try these, but I don’t keep bread flour in my pantry. 🙁
I frequently substitute all purpose for bread flour when I’m baking bread, and it usually works out great. I think these rolls will be fine, too! They will taste awesome, but they may split on the top. Let me know how they turn out for you!
Hi I’ve made these buns twice now, they’re fantastic! Just wondering, though, recipe says 1/3 cup plus 2 tablespoons milk; is the “plus 2 tbsp milk” used anywhere, or is that total milk used with yeast? Just need to clarify but will continue using this recipe because I love it!
So glad to hear from you, Sophie! All the milk gets mixed in with the yeast. Thanks for double-checking. Enjoy!
Sounds like a great recipe that I’m eager to try, but I don’t have a stand mixer. Will this still turn out if mixed by hand? Is there anything I will need to keep in mind doing it this way? I’m really new to bread making, so any advice would be appreciated!
While I love making many types of bread by hand, I have not attempted making brioche without a mixer because the dough is so sticky. Here is a resource from Delicious that might be helpful for you. Good luck and happy baking!
I’m halfway through the first rise and realized that they should be refrigerated for 4-12 hours!? I’ve got to bring them to a friend’s house in 3! Can I skip the refrigeration party without ruining the rolls? Thanks in advance!
Oh, no! I have not tried to make them without chilling. The dough may be hard to work with, but it’s worth a shot! Let me know how they turn out for you! Happy baking!
Made these today (used for pulled-pork sandwiches) for our Independence Day celebration.
They were wonderful! Everyone loved them.
Will definitely be making these again.
P.S. I was short on time and was only able to refrigerate the dough for 1 1/2 hours and they still turn out beautifully.
Thanks for sharing your success! So glad you enjoyed this recipe. Pulled pork sandwiches really are the best!