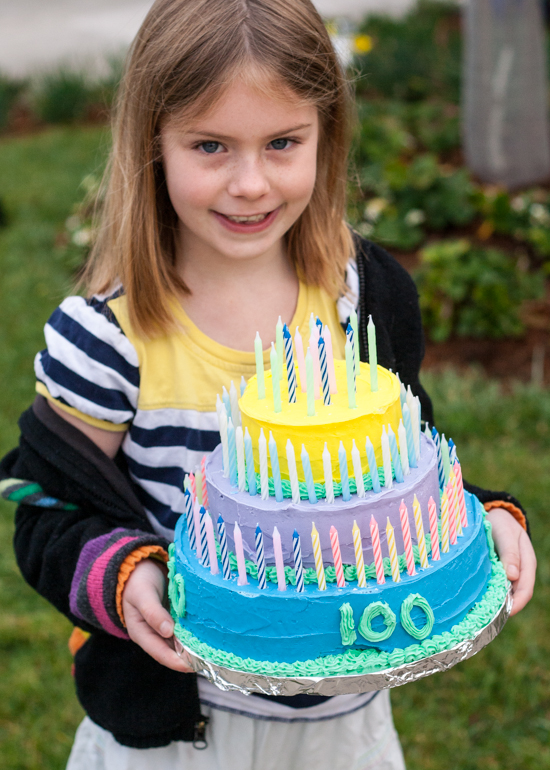
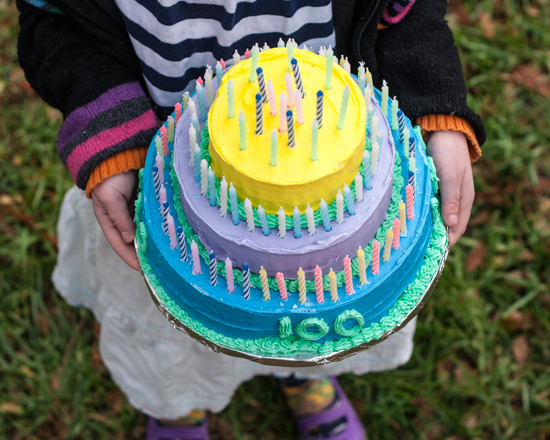
Learn basic tips for frosting and decorating through a six-year-old’s 100th day of school project — a three-tiered cake!

As we walked into school with my daughter’s 100th day of school project, a few parents and teacher raised their eyebrows as they smiled at Tessa holding her three-tiered cake laden with 100 birthday candles.
I suddenly understood that I’d become “that parent,” the one who helps her kid go nuts on a project, and I have to admit that I felt a bit silly.
I have a new appreciation this sort of madness, though, and I’ll think twice before I raise my eyebrows at another kid walking into school with an over-the-top project.
When Tessa first told me what she wanted to bring for the 100th day of school, I should have seen it coming. We do some crazy baking at our house, and my kids seem to think that nothing is impossible. Since we’ve tackled erupting cakes and reptile-shaped cakes and even Georgia O’Keeffe-inspired cakes, Tessa assumed I’d jump at chance to bake a 100 layer cake with her.

I set about steering her in a different direction by asking how tall she thought a 100 layer cake might be. When we figured out that — even if the layers were very thin — it would stand more than 10 feet tall, I asked her how she thought we would get such a big cake to school. And then I reminded her about the fact that her school frowns on people bringing food to share, especially sweet food.
When she told me more about her idea, though, I felt terrible that I’d immediately jumped to discourage her. My grandmother is turning 100 this fall, and my daughters have been obsessing over this fact for at least three years. Tessa wanted to make the cake in honor of her great grandmother’s coming birthday.
As we we talked more about it, she finally came up with a new idea that would honor her great grandmother in a much more reasonable way: she wanted to make a fake tiered cake with 100 candles on it.
At the risk of sounding more like “that parent,” this idea seemed like a breeze. What could be easier than slathering royal icing on three layers of Styrofoam and jamming some birthday candles into it? I had, after all, just dodged the bullet of helping her bake a 100 layer cake.

Since I bake so much, we have a wide variety of tools handy for decorating cakes. And it turns out, with the right tools, a six-year-old can produce an amazing three-tiered cake. Granted, Styrofoam layers, which are sturdier and lighter to work with than real cake, made her task much easier, but through this process, Tessa learned the basics of cake decorating.
Here’s what helped her Tessa pull off her awesome cake:
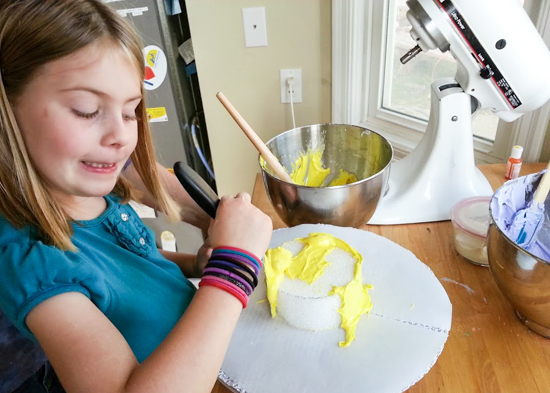
Offset spatulas in varying sizes. A small offset spatula works well for spreading frosting around the side of a cake. A large one helps to create a smooth, even layer on the top of a cake. Full disclosure: Since adding globs of frosting to the narrow spatula was hard for Tessa, I helped her load it.
A rotating cake stand. A rotating cake stand makes it easier to smooth the frosting on a cake without contorting your body or or squishing the frosting as you try to turn the cake. You hold the spatula steady as you turn the cake at a slow, even pace. As the cake turns, the spatula creates an even layer of frosting. Full disclosure: Tessa held the spatula while we turned the cake stand for her.

Decorating bags. You can fill Zip-lock bags and cut holes in their ends to pipe frosting, but purpose-designed decorating bags that taper to a narrow point make it easier to manage the flow of frosting as you pipe it onto the cake. Full disclosure: Loading a narrow bag with thick frosting is challenging, even for me. I did this for Tessa, but not without making a mess. Also, since Tessa’s hands are so small, we helped her manage the pressure on the frosting as she piped. Just like with toothpaste tubes, kids have a tendency to squeeze from the tip end of the bag rather than the end.
Piping tips. A variety of specialty decorating tips helps create cool patterns on cakes (I lucked into my grandmother’s extensive collection when she stopped decorating cakes; since this cake was made to honor her, using her tips felt extra special). Tessa practiced making hearts with a round tip as well as ridged borders with a star tip before piping directly on her cake. Full disclosure: This was the most frustrating part of the project for Tessa, and I don’t blame her. I’ve spent years making fondant-decorated cakes just to avoid piping frosting.
Icing Colors. Icing colors are much thicker and more vibrant than the little dropper bottles of food coloring that you buy at the grocery store. Better yet, they come in just about every shade you can imagine. They have a gel-like in consistency, and a little bit goes a long way. They let you get the color you want without watering down the frosting. Full disclosure: While Tessa chose all the colors for the cake, we did provide guidance about how much color — or rather, how little — to add to the frosting. Kids have a hard time resisting the temptation to add the whole container.
Admittedly, we spent more time on this project than we probably should have, and we did give Tessa quite a bit of help along the way. But you know what? We all had fun cheering her on as she worked enthusiastically on her 100th Day Cake. Everyone learned quite a bit about frosting cakes, and both of my girls are eager to do more decorating. I’m even game to try piping decorations on a cake now, something I’ve only ever tried once.
Here’s the best part, though: since Tessa’s already worked out all of the details for my grandmother’s 100th birthday cake, she’s going to do the whole thing again next fall, this time with real cake underneath. She’s totally ready!
Some of the links in this post are affiliate links. If you click through and make a purchase, I earn a small commission for my referral at no additional cost to you. Thank you for supporting Flour Arrangements.


Beautiful, Tessa! I hope by the time your great-grandmother’s hundredth birthday rolls around, you will have convinced your mom that a hundred-layer cake for that occasion is not only doable, but necessary.
To draw inspiration from another item on the blog: what if the layers were meringue?
Tessa says, “Thanks, Mary!” She thinks you should join us to help make the 100 layer masterpiece…are you available in August?
Graham and I are impressed! Missing you all so much….
Missing you too, guys! Thanks so much!
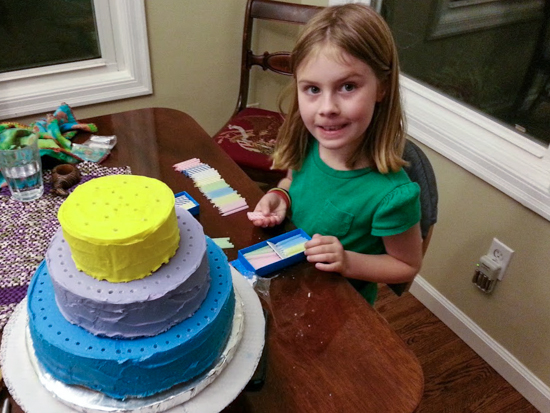
What did you poke the holes for the candles with?
Great question! We used a sharp skewer to make the holes and then added the candles.