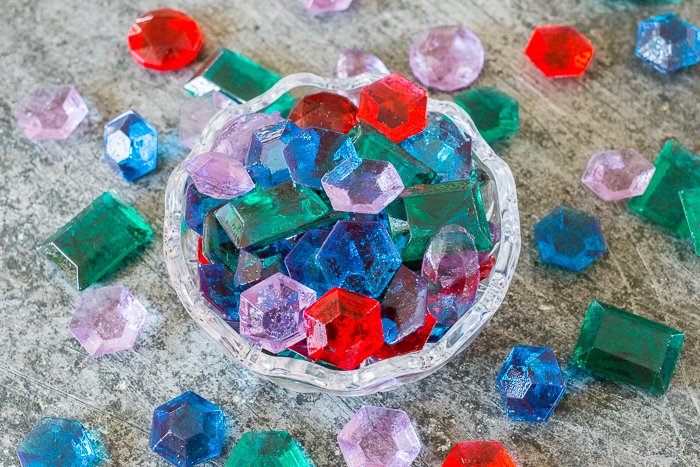
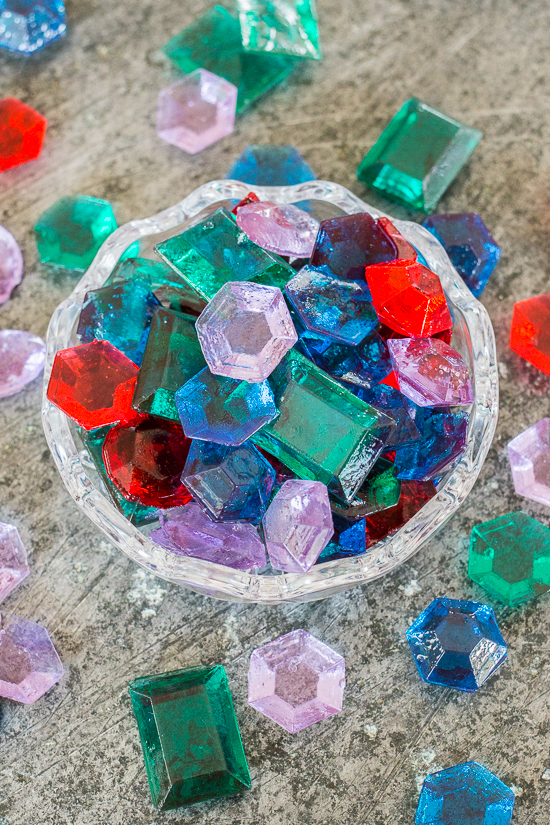
These luxurious Candy Jewels are surprisingly simple to prepare. With a few basic ingredients, a candy thermometer, and gem molds, you’ll be cranking out perfect hard candies in no time at all!
My daughter Eliza had big plans to make a crown birthday cake this year. Her vision, inspired by the Imperial State Crown, included purple marshmallow fondant, gold sugar sheets, and, of course, sparkling candies to give it some royal attitude.
We visited two different sweet shops in search of gem-like candies, but we felt completely underwhelmed by the candy selection we found. Rather than make do with gum drops, we decided to take matters into our own hands.
We’ve melted Jolly Ranchers to use as decorations in the past, and we thought we’d go that route again. But then my husband suggested making our own hard candies.
Initially I scoffed at the idea. I’d had a super busy week, and we barely had enough time to get ready for her party.
Once I looked up recipes, though, I was surprised to see how easy hard candy was to make.
With just sugar, corn syrup, water, some flavoring (any clear extract will do), and color gels, homemade candy jewels were totally within our reach.
I even had some gem molds from a castle cake I’d made a few years ago, so I figured I’d give it a shot just to see how it worked. We pulled off the first batch without a hitch and never looked back.
To ensure that Eliza would have plenty of colors and flavors to choose from for her cake, we made several batches, including blue raspberry sapphires, mint emeralds, and lemon topaz.
Making homemade hard candy turned out to be much easier, less finicky, and way more fun than unwrapping a bunch of Jolly Ranchers to crush, load into molds, and melt in the oven.
The only issue we ran into resulted from my own carelessness. When two batches in a row didn’t set up, I realized that I had switched pans, and my thermometer was actually touching the bottom of the new pan!
This made it impossible to get an accurate temperature reading, which is critical for candy making. Once I adjusted the thermometer for the pan, the candy hardened just like it should.
Because temperature is really the only thing that will make or break this recipe, using a quality candy thermometer (correctly!) is a good idea.
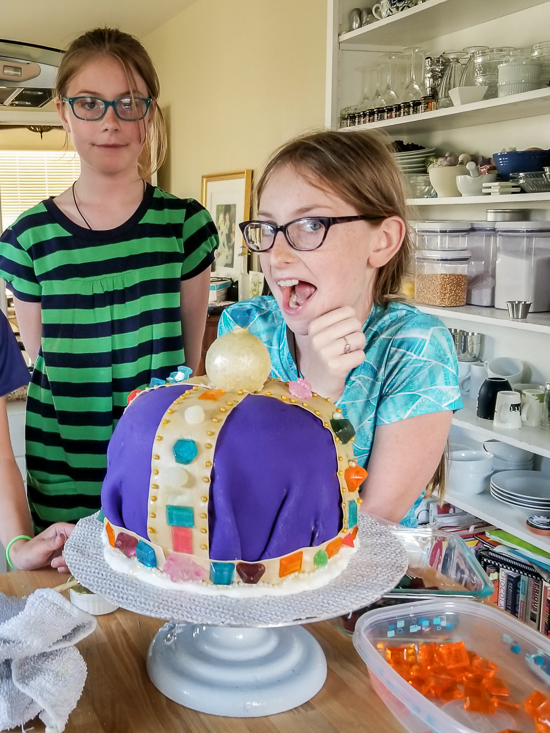
Eliza was attaching the gems to her cake, so “half” jewels right out of the molds (with one flat side) worked perfectly her project. She did figure out how to make “complete” jewels easily, though, because she wanted to add one to the top of the cake.
The candies come out of the molds just tacky enough to stick together. Simply line up the edges carefully and attach the flat sides using gentle pressure. I like to use my fingernails to prevent unnecessary fingerprint smudges on the candies’ shiny surfaces.
We ended up with a ton of extra candy after the girls finished decorating the cake. Fortunately, Eliza’s friends couldn’t get enough of these little candy jewels.
At the end of her birthday party, her friends loaded up small bags of jewels to take home with them, which worked out great for me. I love these little gems, but I didn’t need to eat hundreds of them.
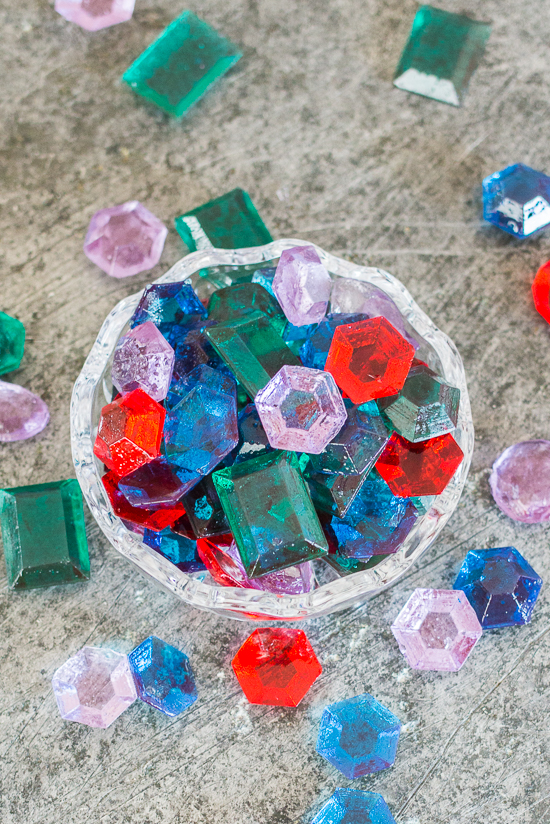
Candy Jewels
Ingredients
Instructions
- Lightly spray the candy molds with non-stick cooking oil and set aside.
- Combine sugar, water, and corn syrup in a small saucepan fitted with a candy thermometer. Heat over moderately high heat and cook without stirring until the syrup reaches 300° F.
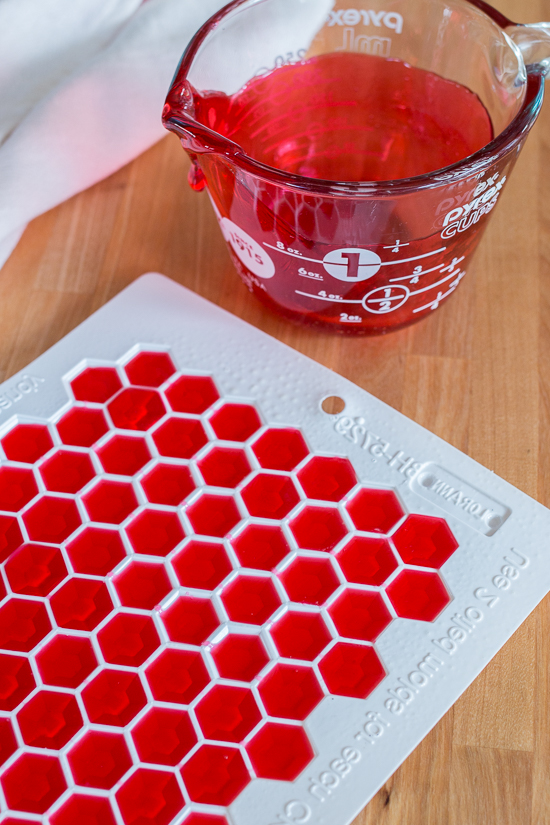
- Remove from heat, and, working carefully as the mixture will bubble and steam, mix in flavor extract and coloring with a silicone spatula. Transfer mixture to a heat-proof glass measuring cup and let it sit briefly to let the larger bubbles settle.
- Slowly pour the mixture into the prepared candy molds, shifting from one well to the next before reaching the top. Let the candies harden in the molds for at least 30 minutes before turning out on a clean surface.
- If desired, press the flat sides of two matching jewels together carefully to create realistic looking jewels.
- Store candies for up to a week in an air tight container.
Some of the links in this post are affiliate links. If you click through and make a purchase, I earn a small commission for my referral at no additional cost to you. Thank you for supporting Flour Arrangements.
Pin Candy Jewels for Later
YOU MIGHT ALSO LIKE
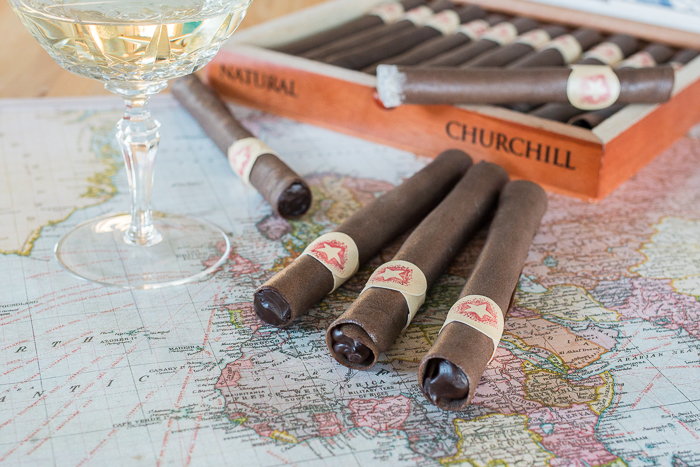 Chocolate Tuile Cigars with Whisky Ganache



Wow! those Gems are amazing! I am loving the cake also!
Happy Birthday Eliza!
Thanks, Ana! Hope you’re well!
Fabulous! How do you guys continue to do these amazing things?
Awwww…thank you, sweet Peg! Miss all of you!