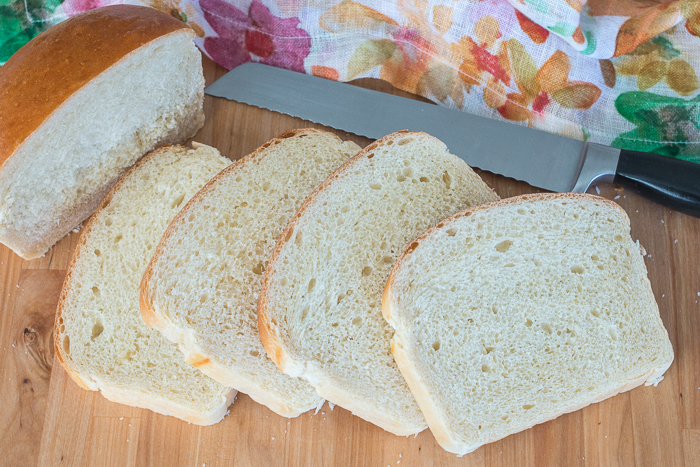
With a glossy golden crust and creamy white interior, this Classic Sandwich Bread is tender and silky yet sturdy enough for piling high with cold cuts, veggies, and spreads or grilling with your favorite cheese.
I used to bake sandwich bread all the time. But when my kids stopped eating sandwiches, we kept ending up with too much bread.
Extra bread makes amazing croutons and breadcrumbs, but baking loaves just to transform them into garnishes and fillers seems a bit extravagant.
Recently, though, Tessa got super excited about grilled cheese sandwiches, which gave me a perfect opportunity to dust off my loaf pans and start working on a Classic Sandwich Bread recipe.
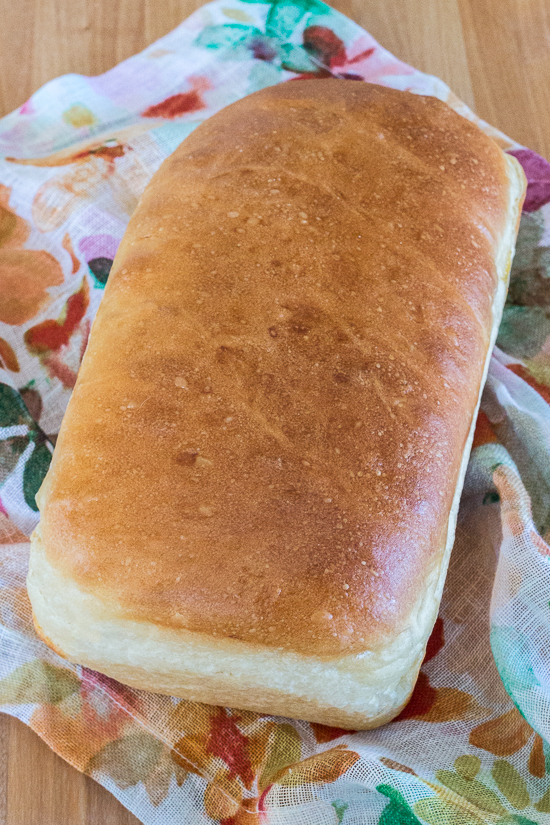
I wanted to come up with a tender loaf that would work well with sandwiches of all kind. I also wanted a recipe that I could make as quickly and easily as possible.
This Classic Sandwich Bread recipe wins on all counts! With minimal active time that involves combining, mixing, and kneading basic pantry staples into a soft, supple dough, this bread is simple and straightforward to prepare.
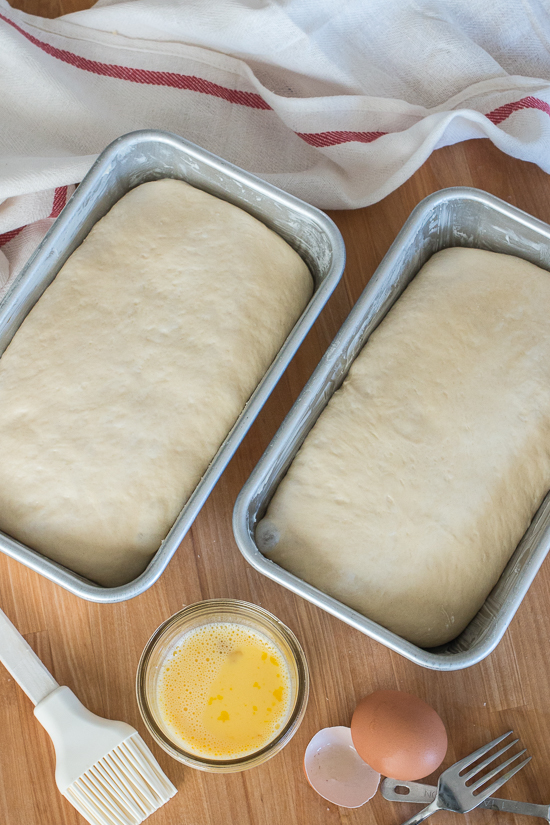
After the initial rise and rest, simply shape the loaves and nestle them in loaf pans to rise one more time.
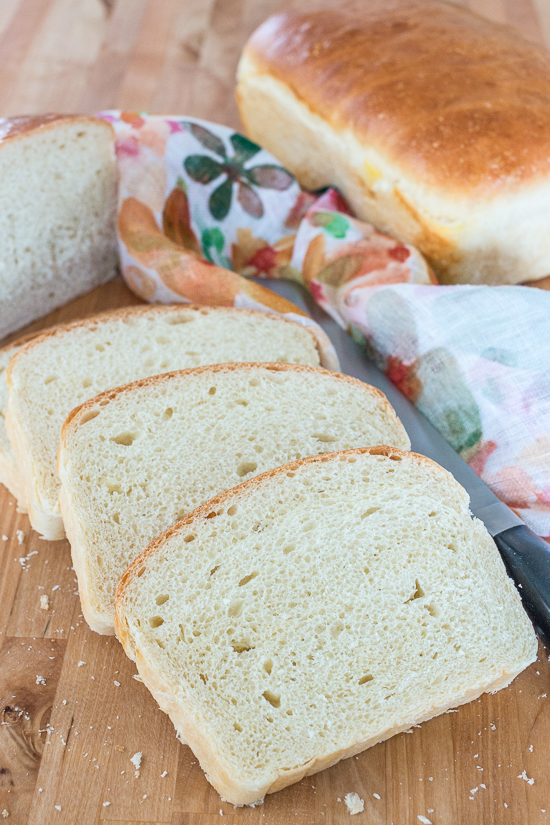
The finished loaves — with their glossy golden crust and creamy white interior — slice like a dream. The tender, silky slices are sturdy enough for grilled cheese and perfect for piling high with cold cuts, veggies, and spreads.
This bread isn’t just for sandwiches, either! Sliced, toasted, and slathered with jam, it’s fantastic for breakfast.
Last weekend while camping, we even turned one of these loaves into garlic bread over the bonfire. With plenty of butter and garlic, it’s even better than it sounds.
This versatile loaf recipe has gotten me back into the habit of making fresh bread again!
While I set out to make this Classic Sandwich Bread for Tessa’s grilled cheese sandwiches, she loves it best freshly sliced with lots of butter. Even I can’t argue with that.
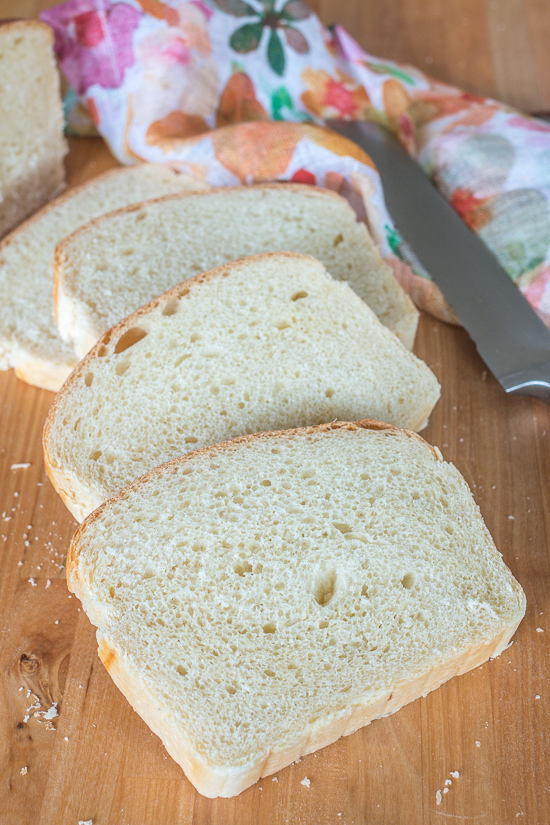
Classic Sandwich Bread
Ingredients
- Dough
- 1 1/2 cups warm water
- 1/2 teaspoon granulated sugar
- 2 1/4 teaspoons active dry yeast
- 1 cup warm milk
- 1 tablespoon honey
- 1/4 cup vegetable oil
- 2 1/2 teaspoons kosher salt
- 5-6 cup unbleached all-purpose or bread flour
- Glaze
- 1 large egg
- 1 tablespoon milk
Instructions
- Combine water, sugar, and yeast in a large bowl or the bowl of a standing electric mixer. Let sit until bubbly, 5 to 10 minutes.
- Add milk, honey, salt, oil, and 2 cups of flour to the yeast mixture. Mix well with a wooden spoon or the mixer's paddle attachment. Add remaining flour about a cup at a time until a shaggy dough pulls away from the sides of the bowl.
- Turn the dough out on a floured surface or switch to mixer's dough hook. Knead in remaining flour until the dough is smooth and slightly tacky, about 5 minutes.
- Transfer the dough to a deep oiled bowl, turning it once to coat the top with oil. Cover the bowl with plastic wrap and let the dough rise in a warm place until doubled in bulk, about an hour.
- Turn the dough out on a lightly floured work surface, pressing on it gently with your fingertips to deflate it. Divide it into 2 equal portions, shape into balls, cover, and let rest for 10 minutes. In the meantime, grease two 9 by 5-inch loaf pans.
- Working one at a time, flatten the dough into rectangles slightly smaller than the pans. Roll each rectangle up tightly, pinching the seams together to seal, and place the dough, seam side down, in loaf pans. Cover with plastic wrap and let rise until doubled in bulk, about 40 minutes.
- Preheat oven to 375º F. In a small bowl, lightly beat egg and milk together for the glaze.
- Brush the loaves with the glaze and bake in the middle of the oven until golden brown and pulling away from the sides, about 40 minutes.
- Turn bread out of pans and cool on a rack for at least 30 minutes before slicing.
Some of the links in this post are affiliate links. If you click through and make a purchase, I earn a small commission for my referral at no additional cost to you. Thank you for supporting Flour Arrangements.




Leave a Reply