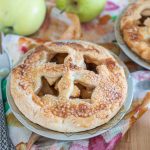
Maple syrup-sweetened and cinnamon-infused, these Personal Apple Pies serve up all the goodness of homemade apple pie in petite, single-serve packaging.
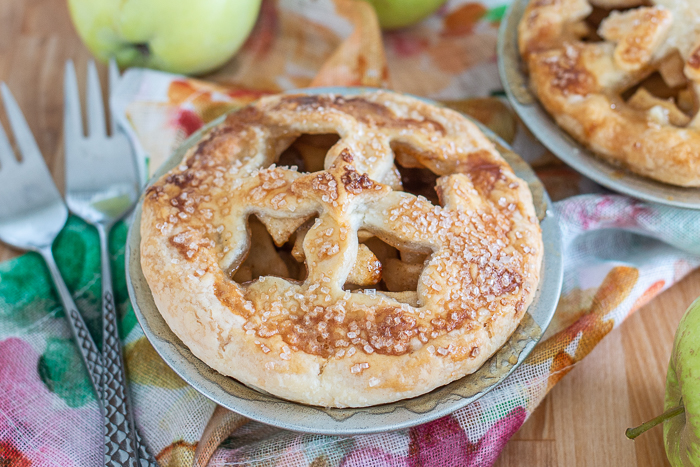 Since we’ve hosted an annual Pi Day party for years, we’ve had plenty of practice making small pies.
We’ve never been super methodical about perfectly proportioning the fillings and pastry dough. Rather, we prepare several different fruit filling recipes and multiple batches of pie dough and let everyone have at it.
Our guests mix and match the fruit to suit their personal tastes. If we have leftover filling, I just mix all the fruit together and freeze it into a pie puck to bake later. Right now, there’s a mango-blueberry-apple combo pie in my freezer waiting for us from last year’s party.
When I set out to bake an Apple Pie the other day with apples from my dad’s tree, it seemed like a great opportunity to come up with an accurate small pie recipe that would be easy to replicate anytime. Small pies are super-satisfying to eat, and they’re especially appropriate to serve now during this time of social distancing when it’s hard to share a large pie with friends.
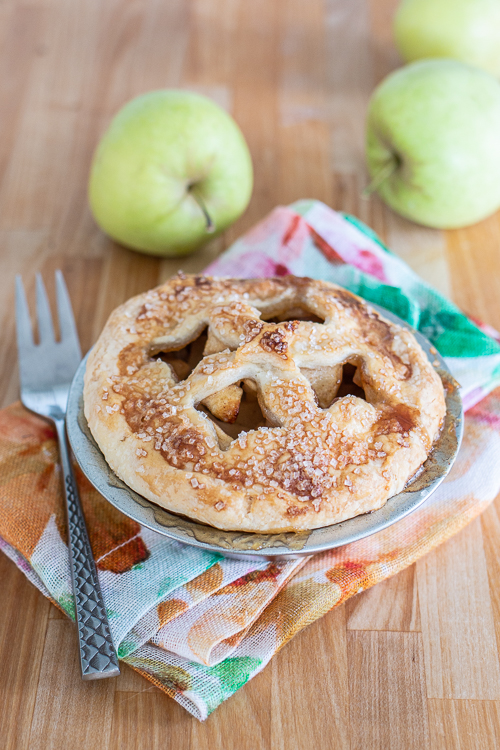 Sweetened with maple syrup and spiced with cinnamon, these Personal Apple Pies deliver all the homey comfort of apple pie in an adorable, single-serving presentation. While they’re a great size to enjoy on your own, they’re definitely big enough to share if you’re feeling generous.
Making Personal Apple Pies
After several rounds of baking and scaling filling and pastry recipes, I decided that it made the most sense to work from a standard double-crust pie dough recipe. I wanted to make sure that bakers who prefer using prepared pie dough could make these mini pies without any trouble.
While this meant making four pies instead of six as I had originally intended, it seemed far less complicated and much more flexible. If you want more than four pies, this recipe doubles well, but I recommend mixing up two separate batches of pie dough as it can be challenging to prepare a large quantity while keeping it tender.
 The directions below include my standard pastry dough recipe, which I recommend making, not only because of its rich, buttery flavor and light, flaky texture, but because it’s actually easier to prepare than most people think. That said, if you don’t feel like taking it on — no judgement! The important thing is to make pie!
One double-crust pastry dough recipe is enough for about half a recipe of apple pie filling. If you’re a fan of buttery, flaky pie dough, this is a serious win!
I haven’t tested this proportion with other fruit pies yet, but I suspect it should work about the same if you felt like baking another kind pie.
Shaping the Pastry Dough
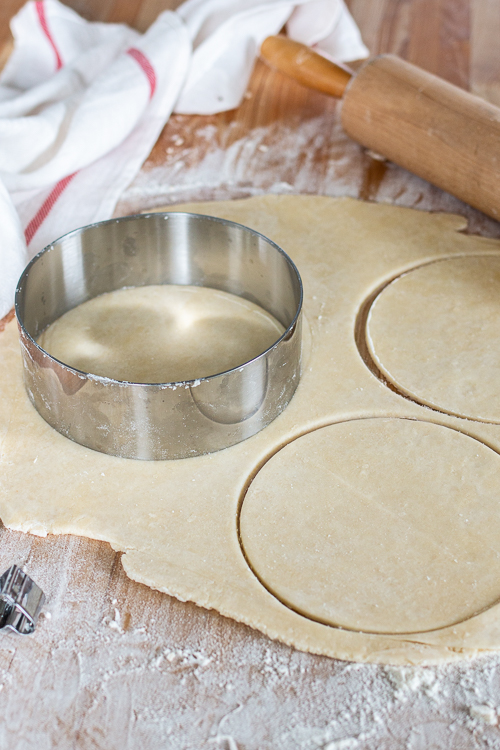
Four individual pies require eight rounds of dough. For the 5-inch pie tins I used, these circles need to be about 6 inches in diameter. I use a round cake mold because I don’t have a large enough cookie cutter. While this works well, you could also cut around the edge of a 6-inch bowl with a knife or pastry wheel.
Over working pastry dough can make it tough, so I experimented with rolling the dough out in a long, narrow rectangle to maximize the number of circles I could cut without rerolling the scraps.
While this did, in fact, minimize rerolling, it felt like a lot of trouble and, ultimately, was not worth the effort. In reality, if you press the scraps together gently and avoid overmixing or kneading, the dough will maintain its tenderness.
 Filling Personal Apple Pies
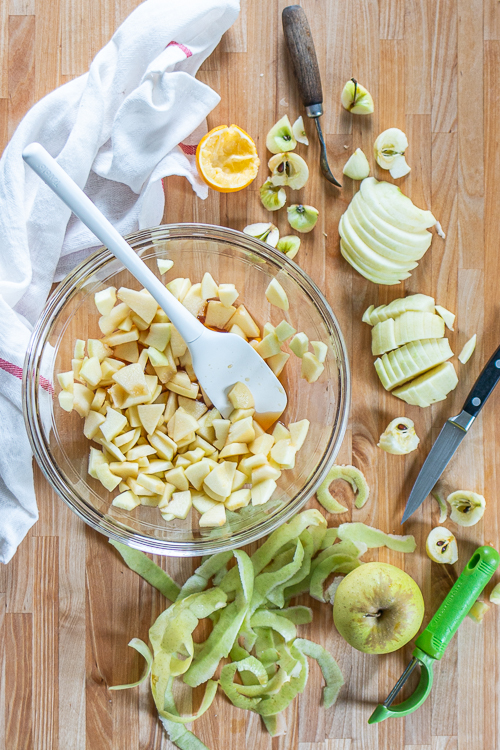
The first time I made these mini apple pies, I cut the fruit into 1/4-inch wedges as I normally do for an apple pie. Because of pie tins’ small size I had a hard time getting the fruit to fit once I started filling them.
The next time around, after slicing apple halves into 1/4-inch slices, I cut them crosswise in quarters. This allowed the fruit settle into the pans more easily, which meant packing in more filling. Yay!
This issue had never occurred to me before since our Pi Day party pies usually contain a mix of fruit across at least a dozen pies. At next year’s party, I’ll slice the apples this way!
 Decorating the Top Crust
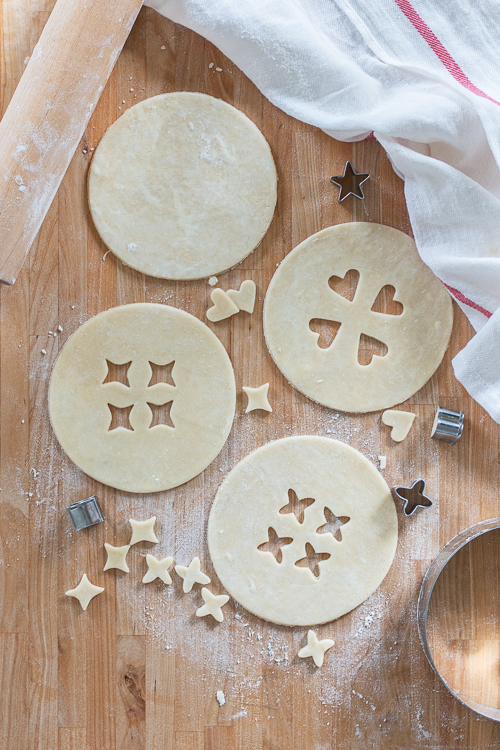
I’m a huge fan of using tiny cookie cutters to add vent holes to pies. At our Pi Day parties, it’s really the best part, aside from eating pie!
To use small cutters, you’ll want to cut the shapes before topping each pie. Hang onto the leftover shapes to use for decorating, if you like.
When you’re ready to add the top crust, use a fingertip to spread a little water on the upper portion of the lower crust’s outside edge. Add the decorated pastry round and trim its perimeter so it extends just beyond pan’s top rim.
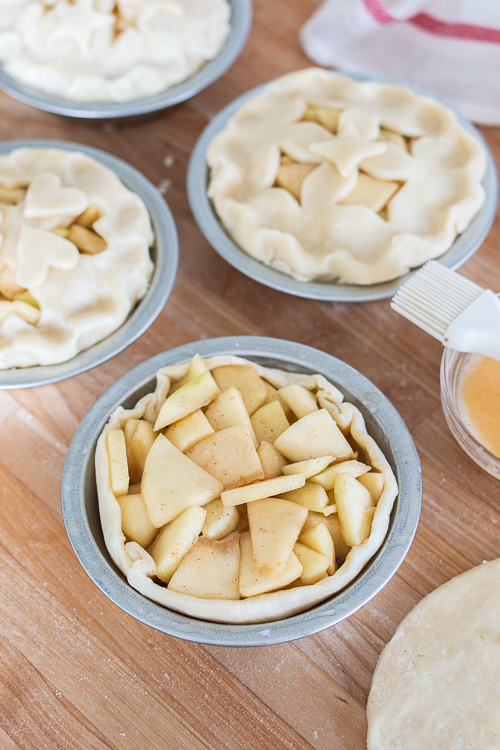 Bend the edge of the top crust down and tuck it into the pie tin so it overlaps the edge of the bottom crust inside the pan. Press gently to seal the two rounds of dough together.
Flatten the top crust down and crimp the edge decoratively with your fingers.
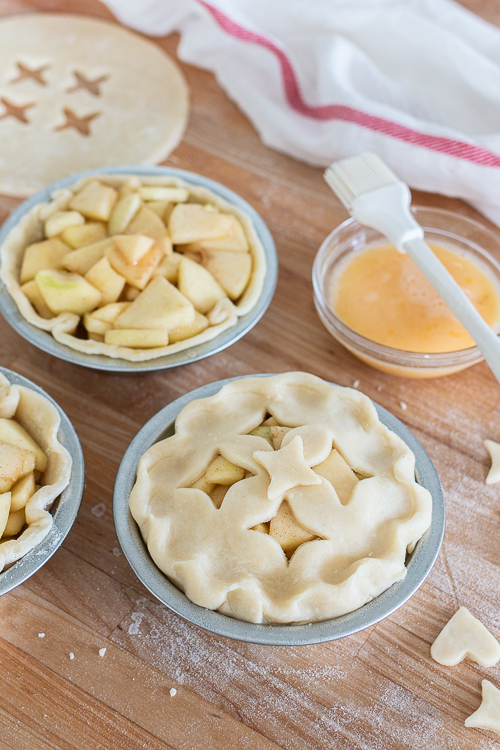
If desired, dab a little water on the leftover dough shapes and set them on the top crust. Brush the top crust egg wash and sprinkle with coarse sugar, if desired.
 Baking Personal Apple Pies
Set the filled and topped pies on a baking pan and place them on the bottom rack of an oven preheated to 425° F.
After 20 minutes, reduce the oven’s temperature to 350° F and bake until the juices bubble thickly and the tops are golden brown, about 30 minutes.
If the pies begin to brown too quickly, slide a baking sheet on the top shelf to diffuse the heat.
 Personal Apple Pie Serving Ideas
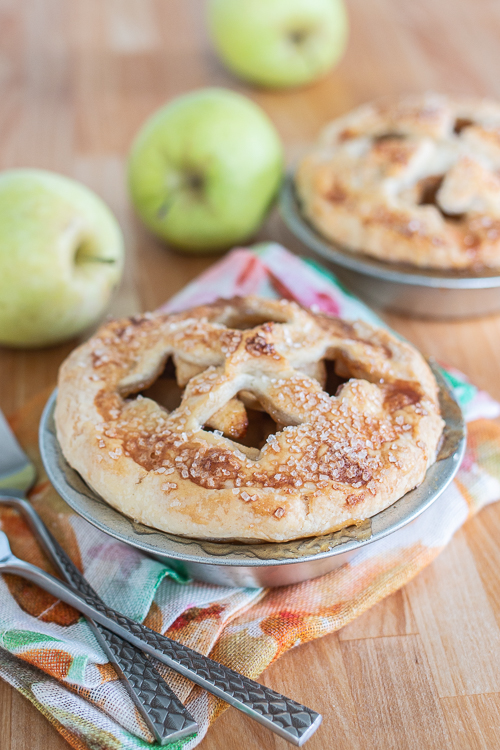
These pies are best after they’ve had some time to cool but are still warm, especially when served with a generous scoop of vanilla ice cream. Once they’re cool, these pies pop out of the tins easily if you prefer to serve them on plates for a fancier feel.
While they make an awesome after dinner treat, any leftovers at our house are always fair game for breakfast. Additionally, since these small pies are easy to transport and serve, they’d be great for picnics or hikes.
Anytime, really, is pie time!
Personal Apple Pies
Equipment
Ingredients
Pastry Dough
- 2 1/2 cups unbleached all-purpose flour
- 1 tablespoon confectioners' sugar
- 1 teaspoon kosher salt
- 1 1/4 cups unsalted butter cut in 1/4-inch slices
- 5 tablespoons ice water, strained plus more as needed
Apple Filling
- 1 1/4 pounds golden delicious apples about 3 to 4
- 1/3 cup maple syrup
- 1 tablespoon corn starch
- 1 1/2 teaspoons unbleached all-purpose flour
- 1/2 small lemon juiced
- 1/4 teaspoon ground cinnamon
- generous pinch kosher salt
Assembly
- 1 large egg
- 2 teaspoons water
- pinch kosher salt
- coarse sugar for sprinkling
Instructions
Pastry Dough
- To prepare the pastry dough, whirl flour, confectioners' sugar, and salt in food processor with the blade attachment. Add about half of the butter and whirl until no chunks remain. Add remaining slices and whirl briefly to chop them up slightly.
- With the motor on, drizzle ice water through the feed tube, stopping before the dough comes together. Pinch some crumbs together between your fingers; if they don’t stick together, add a bit more ice water and mix.
- Turn the mixture out onto a large piece of plastic wrap. Use the plastic wrap to help you bring the dough together; fold the edges of the dough toward the center and press down until it holds together, taking care not to overwork the dough.
- Divide the dough in half and shape each piece into a flat disk. Wrap the dough tightly in plastic and refrigerate it for at least 30 minutes.
Apple Filling
- While the dough chills, preheat oven to 425° F. Peel, halve, core, and cut apples into 1/4-inch slices. Cut the slices into quarters so the pieces will fit better into the small pie tins.
- Combine the apples with maple syrup, corn starch, flour, lemon juice, cinnamon, and salt. Let the mixture stand for at least 30 minutes, stirring occasionally, to allow the apples to soften.
Assembly
- Whisk egg, water, and salt together in a small bowl and set aside.
- On a lightly floured surface, roll one piece of dough into a 14-inch circle.
- Using a 6-inch diameter bowl or cookie cutter, as many dough rounds as you can, saving the scraps to reroll. Repeat with remaining dough and reroll the scraps to cut additional circles for a total of eight.
- If desired, use small cookie cutters to add decorative shapes or patterns into four of the rounds to use as top crusts.
- Transfer the remaining rounds of dough into the pie dishes and divide the fruit filling between them.
- Working one at a time, use a fingertip to spread some cold water on the top of the lower crust's outside edge. Add the decorated pastry round and trim its perimeter so it extends just beyond pan's top rim. Bend the edge of the top crust down and tuck it into the pie tin so it overlaps the edge of the bottom crust inside the pan. Press gently to seal the two rounds of dough together. Flatten the top crust down and crimp the edge decoratively with your fingers.
- If desired, add leftover pastry shapes to the pies, dabbing them with a bit of cold water to help them adhere.
- If you haven't cut shapes into the top crusts, use a sharp knife to cut some steam vents. Brush the top crusts lightly with egg wash and sprinkle with coarse sugar.
Baking
- Place pies on a baking sheet to catch any overflowing juices. Bake for 20 minutes on the bottom rack of the preheated oven.
- Reduce heat to 350º F and continue baking until the crust is golden brown and the juices bubble thickly through the vents, about 30 minutes. If the crust browns too quickly, slip a baking sheet on the top rack of the oven to diffuse the heat.
- Allow the pies to cool for at least 30 minutes before serving.
Some of the links in this post are affiliate links. If you click through and make a purchase, I earn a small commission for my referral at no additional cost to you. Thank you for supporting Flour Arrangements.


Leave a Reply