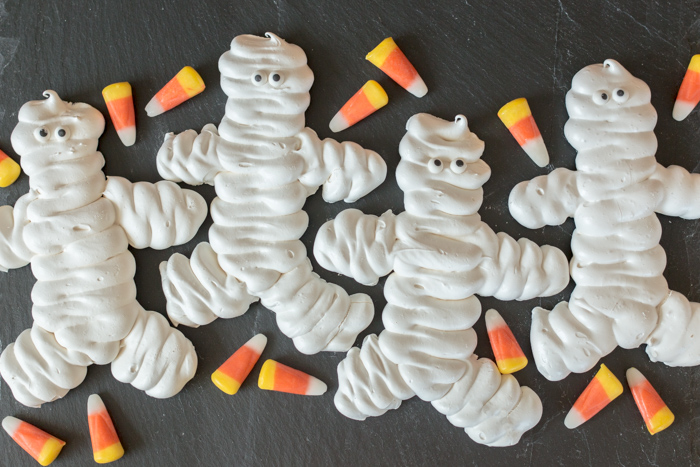
Light and sweet with hint of vanilla, these crisp, delicate Meringue Mummies crunch oh-so-satisfyingly between your teeth.
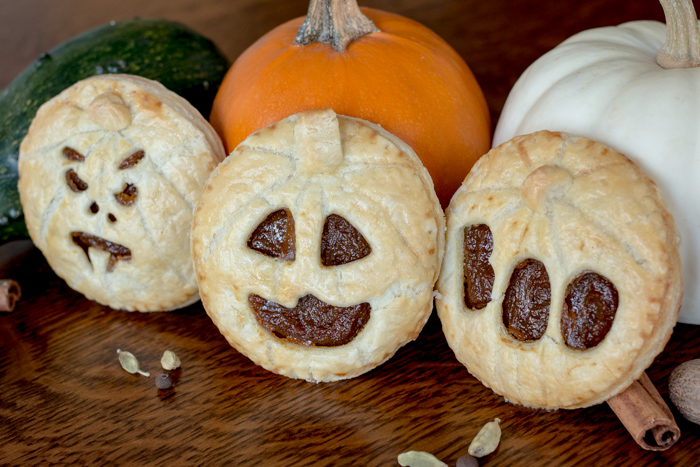
While working on the recipe for these Jack-O’-Lantern Pumpkin Hand Pies, I kept accumulating egg whites. Fortunately, the amount aligned perfectly with my standard recipe for meringues.
The sweet, crisp crunch of meringue always amazes me. It’s hard to believe that this ambrosial treat includes just eggs, sugar, and flavoring.
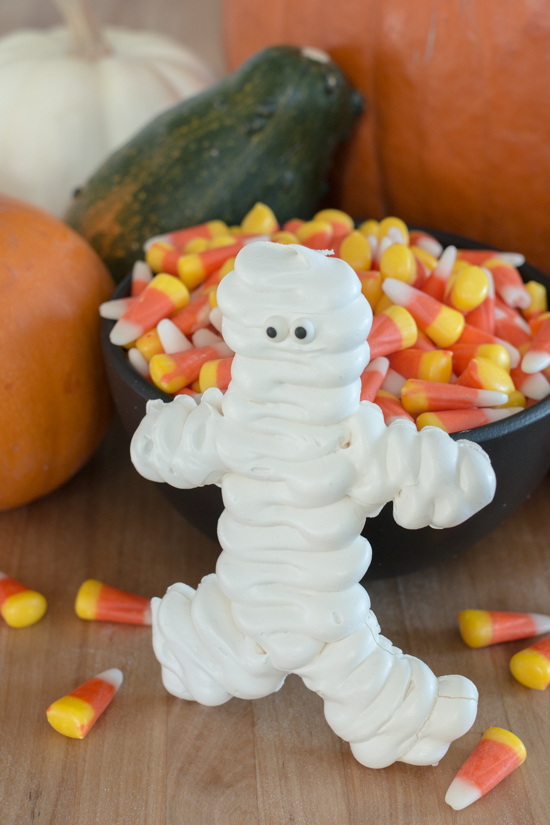
I love that these fun Meringue Mummies came into existence almost by accident. If I hadn’t had extra egg whites to use up this close to Halloween, the idea to make this ghoulish variation might not have occurred to me.
As I thought about creating the mummies, I wasn’t sure how I would freehand the thick, gooey meringue into mummy-like figures. Since I’d already been using alphabet cookie cutters for creating faces on my Pumpkin Hand Pies, a flash of inspiration had me digging though my cookie cutters in search of a gingerbread man.
On parchment paper, I traced around the gingerbread man cutter to create a guide for piping. Welcome to Halloween, Mr. Gingerbread Man!
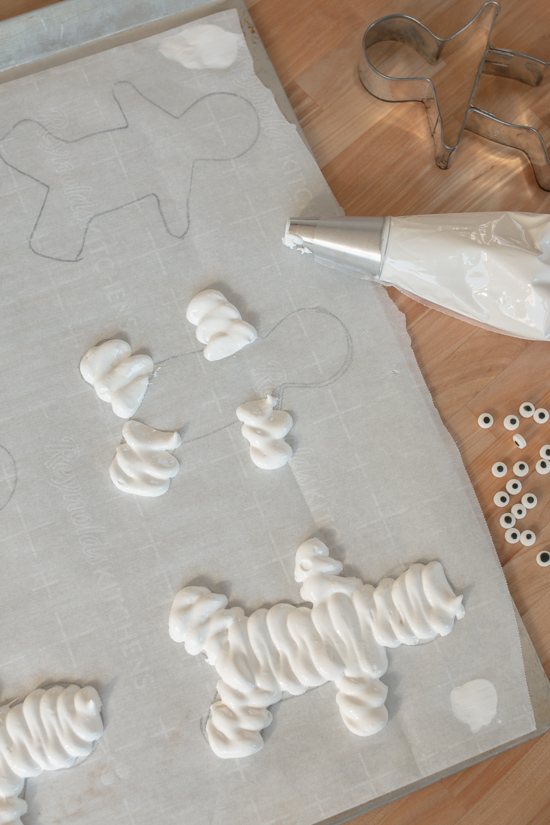
The pattern worked like a charm, and, after a few tries, I figured out the best method for piping mummies — start with the arms and legs and then fill in the bodies starting from the bottom and ending with the head.
Trust me when I say that the little tail of meringue that’s left as you finish piping looks way better on the top of the the head than it does between the legs.
As you pipe the meringue, drag the tip directly on the parchment paper within the gingerbread man pattern, quickly zigzagging back and forth while applying gentle, even pressure to the piping bag. As you finish each body part, release the pressure while lifting upward.
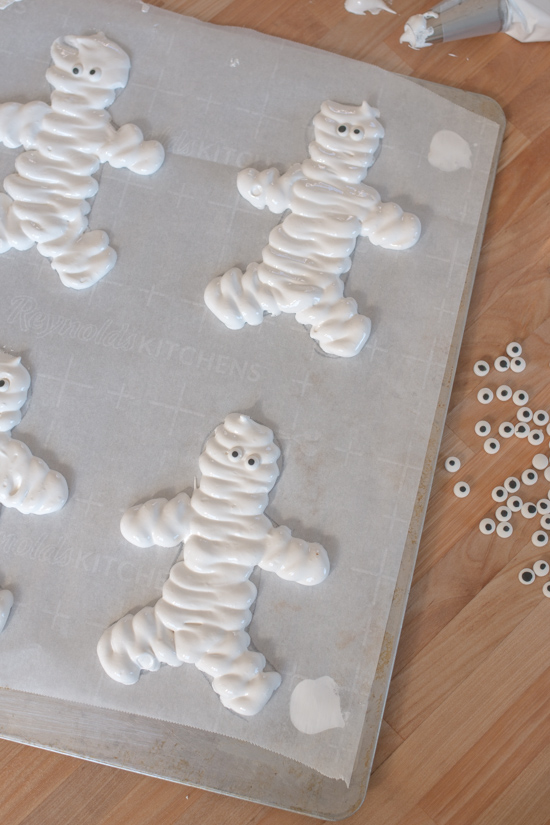
Each mummy turns out slightly differently, which gives them serious personality.
My daughter Eliza thinks the wisp of meringue atop the mummies’ heads makes them look like Donald Trump. I was definitely not going for that look, but at least it’s scarier than the Michelin man, which I worried they might look like.
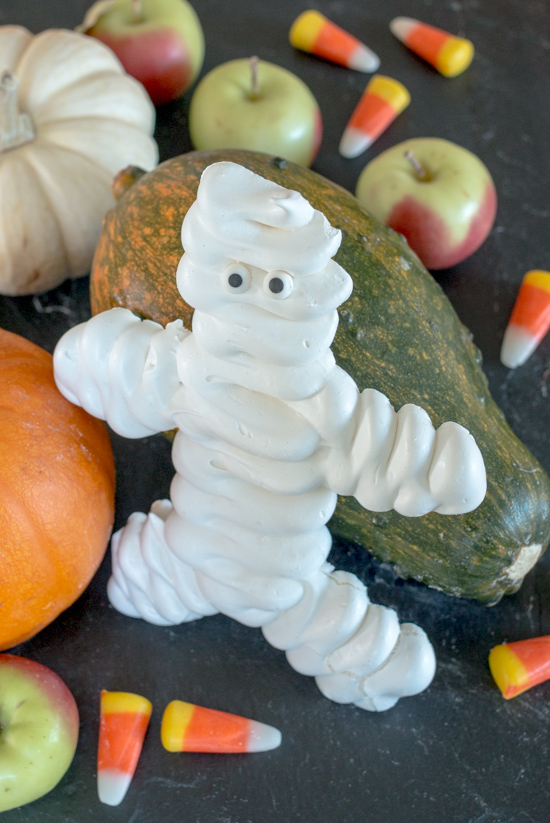
Adding eyes to these mummies’ faces may be my favorite part of this project. It’s amazing how two small dots can transform a blob of meringue into something life-like.
On my first try, I used candy eyes, which bled a little during baking. Mummies can definitely rock the bleary-eyed look since they’re supposed to be creepy, but I wanted to see if royal icing eyes would hold their pupils better, and they did! Good to know, right?
In any case, bleary or clear, the eyes truly complete the effect in animating these un-dead creatures.
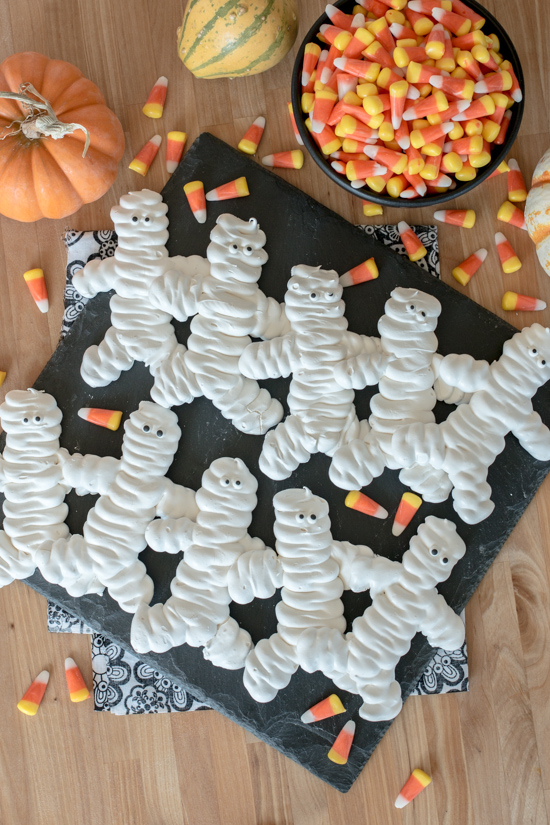
Cute rather than creepy, Meringue Mummies will be a hit at any Halloween party!
Don’t get too attached to their adorableness, though, because they taste delicious. Crunching off the arms, legs, and heads of these creatures to enjoy the sweet, crisp vanilla meringue feels strangely satisfying.
If you make Meringue Mummies, you should totally bake Pumpkin Hand Pies, too. This matched pair of festive Halloween recipes resolves the extra egg yolks/whites problem! Happy Halloween!
Meringue Mummies
Ingredients
- 1/2 cup egg whites (from 3 to 4 eggs)
- 1 cup + 1 tablespoon granulated sugar
- 1 teaspoon vanilla extract
- 24 candy or royal icing eyes
Instructions
- Preheat oven to 200º F.
- Add egg whites and sugar to the bowl of a standing electric mixer. Whisk by hand to combine.
- Place the bowl with egg whites over a saucepan filled with just enough simmering water to heat the egg mixture without touching the bottom of the bowl. Stir constantly with a silicone spatula, scraping down the sides frequently until the sugar melts and the mixture reaches 140º F (once the mixture begins to lose its grittiness, check frequently with an instant-read thermometer).
- Carefully transfer the hot bowl to a mixer fitted with the whisk attachment. Whisk on high speed until the meringue is fluffy and has cooled to room temperature (this will take some time).
- In the meantime, line two baking sheets with parchment paper. With permanent marker, trace a 4 1/2 to 5-inch gingerbread man cookie cutter on the parchment paper for a total of 12 shapes.
- Once the meringue has cooled, reduce mixer speed and add vanilla extract. Whisk on high speed until evenly combined.
- Fit a pastry bag with a 1/2-inch round piping tip and fill the bag with the meringue.
- Remove parchment paper from the baking sheets and add a dab of the meringue to the four corners of each baking sheet (this will help the parchment stick to the baking sheets during piping). Replace parchment paper -- marker side down -- and smooth it over the sticky meringue.
- To pipe mummies, start with the arms and legs. Begin with the hands and feet and pipe toward the body, dragging the tip on the parchment paper while zigzagging quickly back and forth. Apply gentle, even pressure as you pipe and, as you finish each arm or leg, release the pressure while lifting upward.
- To add the body and head, start between the tops of the legs and pipe, zigzagging back and within the pattern toward the head. As you pass through the arms, make sure meringue meets up with both of them. As you reach the top of the head, release pressure on the piping bag while lifting away from it.
- After piping the mummies, add eyes to their faces.
- Bake meringues in preheated oven until crisp but not browned, about 2 hours. Let meringues cool completely in the oven with the heat turned off. Store in an airtight container for up to a week.
Some of the links in this post are affiliate links. If you click through and make a purchase, I earn a small commission for my referral at no additional cost to you. Thank you for supporting Flour Arrangements.


 Pumpkin Dinner Rolls
 Grapefruit Meringues
How fun! Perfect for Halloween!
So glad you like them! Enjoy!