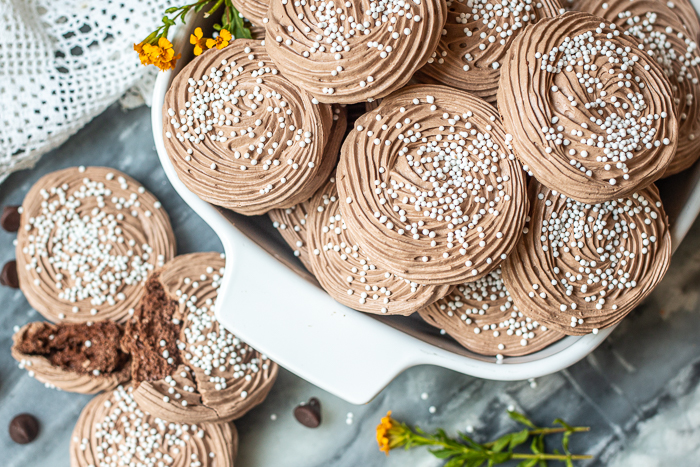
With crisp, crunchy exteriors and gooey, soft centers, these Chocolate Meringue Cookies deliver rich chocolate flavor with an impossibly light and airy texture.
I used to shy away from recipes that involved separating eggs to incorporate just the yolks or whites. Now I see these kinds of recipes as opportunities.
Extra egg yolks? Let’s make Vanilla Cream Pie or Sweet and Tangy Lemon Sauce! Extra egg whites? How about some Lemon-Lime Meringue Pie or Angel Food Cupcakes?
When I started separating eggs for this Cocoa Nib Brittle Cinnamon Ice Cream recipe, I was already dreaming about baking some Chocolate Meringue Cookies with the leftover egg whites.
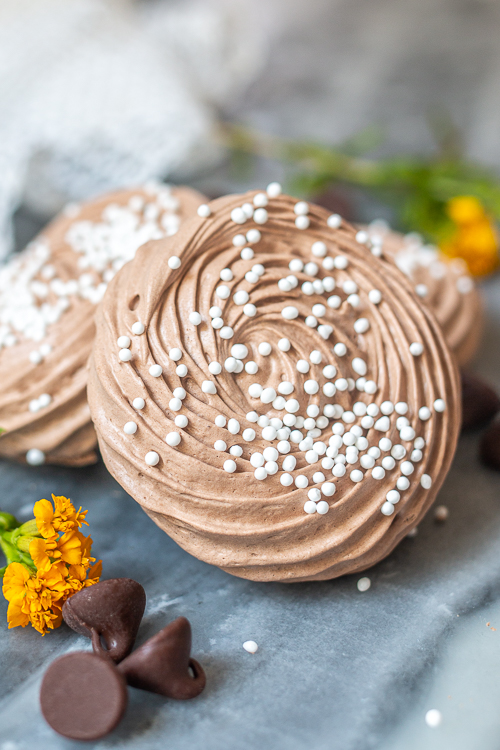
Since meringue is mostly sugar with some egg white for structure, it is one sweet treat. I loved the idea of mixing unsweetened chocolate into billowy white meringue before baking to cut the sugary sweetness a bit.
Unfortunately, my first batch, which I baked following my standard meringue recipe, were as hard as rocks! I usually bake meringues for several hours at 200° F, which results in crisp, crunchy, light-as-air treats.
Adding chocolate to the mix made these meringues behave differently in the oven, and not in a good way!
 Trial and (mostly) Error
After some searching, I found several recipes that suggested baking chocolate meringues at higher temperatures for shorter lengths of time. These recipes promised crisp exteriors with soft centers.
I baked more meringues at 300° F for 12 minutes, but they weren’t even close to finished when the timer beeped. I let one of the cookie sheets cool on the counter and the other in the oven. The meringues that cooled at room temperature were a mushy mess, and the ones that cooled in the oven hardened up like cement.
My family, happy to devour ever more iterations of Chocolate Meringue Cookies, encouraged me to keep trying. Even imperfect, everyone loved these meringues!
 I did more experimenting with baking and in-oven cooling times and temperatures between 275 and 300° F. I finally got close to achieving the perfect consistency, but I still wasn’t satisfied.
While the centers retained just enough moisture to ensure a soft, gooey texture, the crisp exteriors splintered at the lightest touch.
Eating these cookies made a serious mess! To avoid getting meringue all over the place, I took to eating them over the sink.
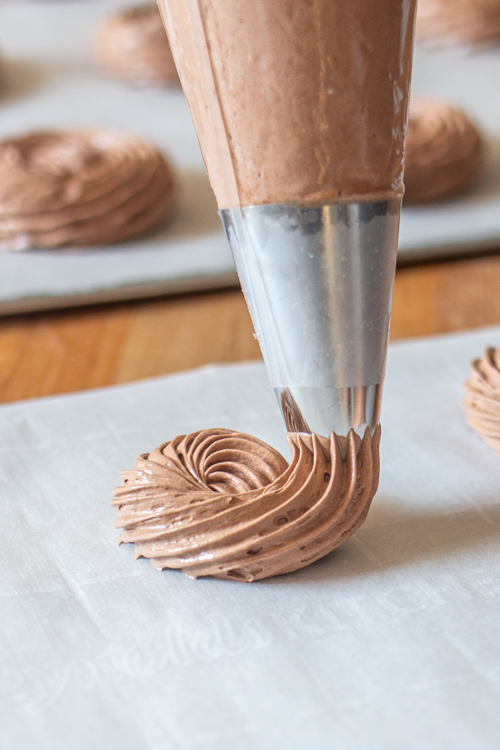 In addition to a sturdier consistency, for simplicity’s sake, I wanted a recipe that didn’t depend on cooling time in the oven. Since I only have one oven, cooling meringues kept interfering with dinner and other baking projects.
The Solution
Reducing the temperature significantly solved all of my problems with this recipe!
Baked at 225ºF for 50 minutes, the meringues’ crisp, light exteriors held their shape around soft, moist centers. They cool on the baking sheets at room temperature, which freed up my oven! Finally!
All they needed were white sprinkles for flair and extra crunch. Mostly though, the sprinkles keep them from looking like poop emojis.
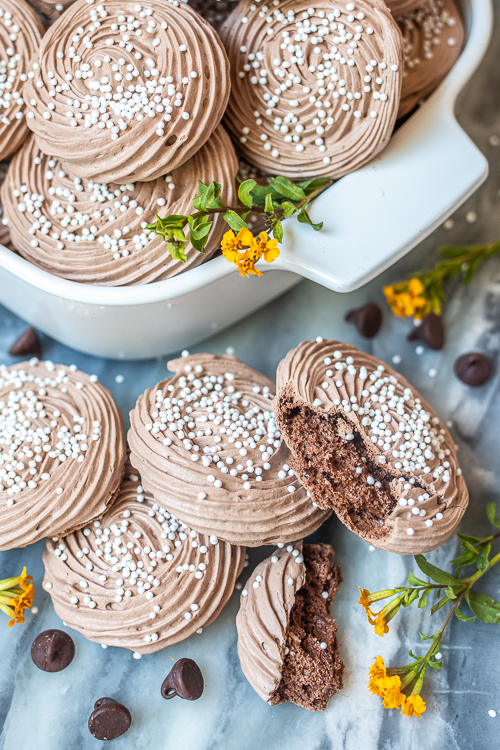 Despite the drastically different exteriors and interiors, these meringues’ crisp and gooey textures both feel impossibly airy and light. Add their rich chocolate flavor to the mix, and you’ve got yourself a delightfully addictive dessert experience.
I’m so glad I didn’t give up on these Chocolate Meringue Cookies! I didn’t know how much I needed them in my life.
My family’s still pretending that they need a few more tweaks, but I’m on to them. They just want me to keep cranking out batches of these dreamy meringues.
Chocolate Meringue Cookies
Equipment
- saucepan that will hold the bowl of a standing electric mixer
- small saucepan that will hold a small heatproof bowl
Ingredients
- 3 ounces unsweetened baking chocolate chopped in small pieces
- ½ cup egg whites (from 3 to 4 eggs)
- 1 cup granulated sugar
- white nonpareils
Instructions
- Preheat oven to 225º F. Line two cookie sheets with parchment paper.
- Place the chopped chocolate to a small, heatproof bowl that will fit snugly over a small saucepan. Set the bowl over the saucepan filled with just enough simmering water to heat the bowl without touching it. Stir the chocolate frequently until melted and smooth. Remove from heat but leave the bowl over the pan to keep the chocolate warm.
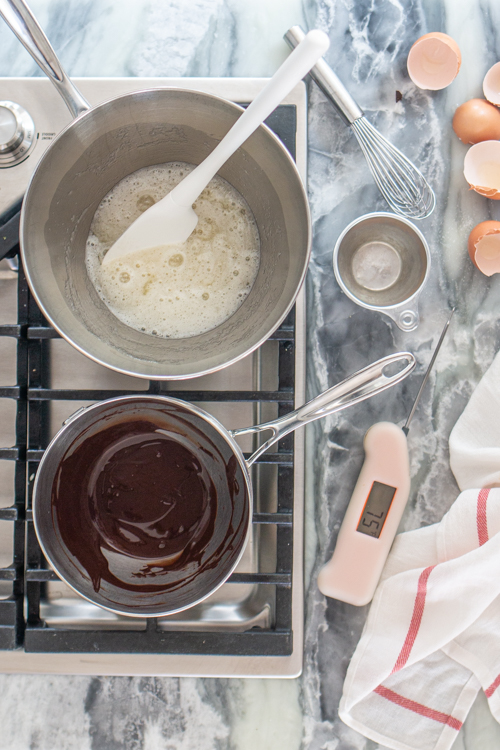
- Add the egg whites and sugar to the bowl of a standing electric mixer. Whisk to combine. Set the bowl over a saucepan filled with just enough simmering water to heat the egg mixture without touching the bottom of the bowl. Stir constantly with a silicone spatula, scraping down the sides frequently until the sugar melts and the mixture reaches 140º F (once the mixture begins to lose its grittiness, check it frequently with an instant-read thermometer).
- Carefully transfer the hot bowl to a mixer fitted with the whisk attachment. Whisk on medium-high speed until the meringue is light, fluffy, and just warm to the touch, about 5 minutes.
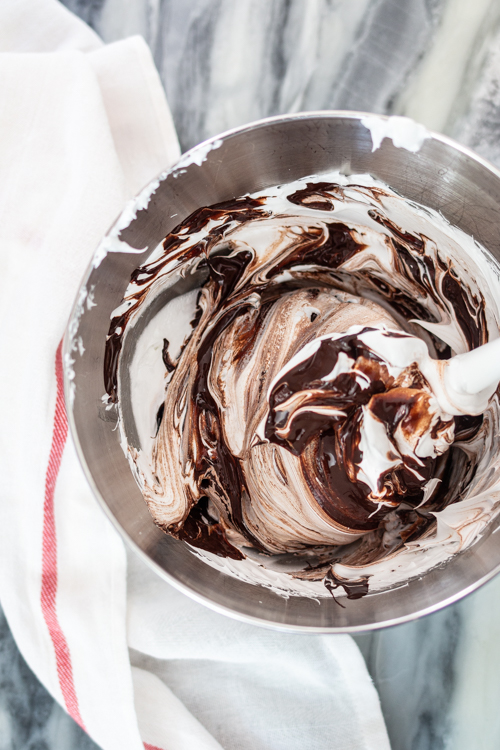
- Drizzle the warm chocolate over the top of the meringue and gently fold it in with a spatula until evenly combined.
- Fit a large pastry bag with a large open star tip and fill the bag with the meringue. Add a bit of the remaining meringue on the spatula or whisk to the four corners of each baking sheet underneath the parchment paper. Smooth the paper over the meringue to keep it in place during piping.
- To make the cookies, begin piping in a spiral motion, moving outward from a central point. After completing about 1 1/2 rotations, begin releasing the pressure slowly as you continue dragging the tip in a circular motion. Sprinkle white nonpareils over the meringues.
- Bake meringues in the preheated oven for 45 to 50 minutes, until crisp on the outside and quite soft and moist in the center. To test for doneness, lift a cookie off the baking sheet -- it should stay in one piece. When you break it in half, it should break cleanly and the center should be moist but hold its fluffy texture without collapsing.
- Cool the meringues completely on the baking sheets. The centers will set up as they cool. These meringues are best fresh, but they store well in an airtight container for up to a week.
Some of the links in this post are affiliate links. If you click through and make a purchase, I earn a small commission for my referral at no additional cost to you. Thank you for supporting Flour Arrangements.


Leave a Reply