Peanut Butter and Jelly Hand Pies transform this classic sandwich combination into adorable, delicious pastries perfect for breakfast or snack time.
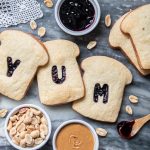
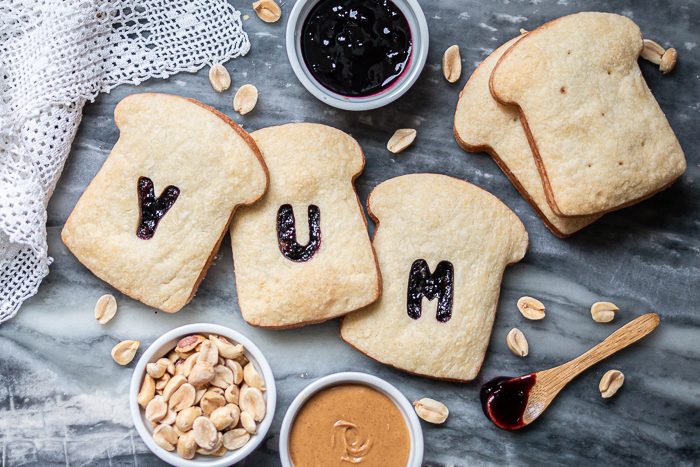 When I first saw a slice-of-bread shaped cookie cutter, I knew I wanted to make little Peanut Butter and Jelly Hand Pies that looked like sandwiches.
Hand pies are so fun to make and eat, and these little PB&J hand pies turned out even better than I imagined!
Since they’re not super sweet, we consider these petite pies snack food or breakfast rather than dessert.
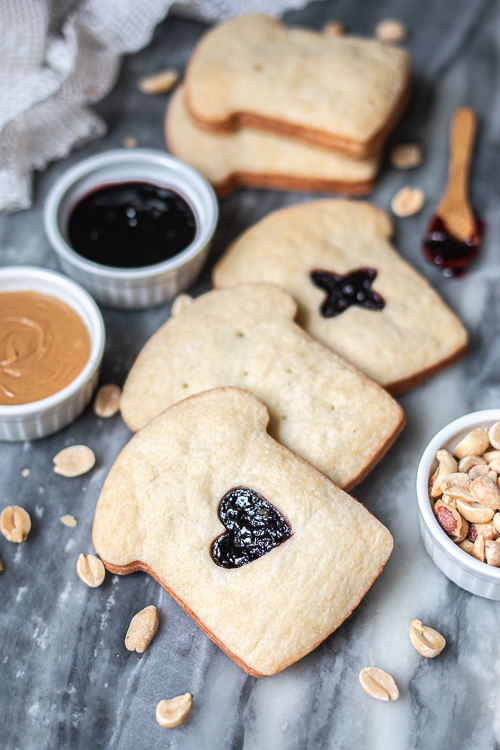 They actually taste just like peanut butter and jelly sandwiches, only with pie crust instead of bread.
While they’re cute and playful, the crisp, buttery crust definitely gives these small “sandwiches” a more upscale feel than regular peanut butter and jelly sandwiches on squishy white bread.
Decorating Peanut Butter and Jelly Hand Pies
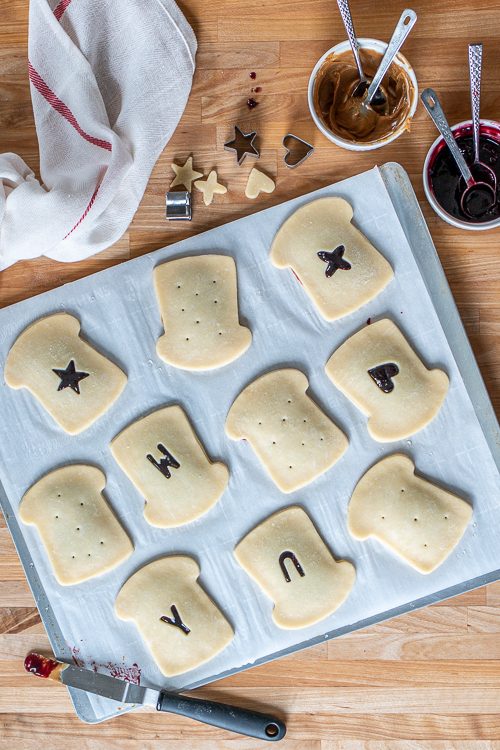
While these pies look amazing undecorated, stamping the top crusts with tiny cookie cutters gives them personality. In addition to using shapes, you can use letters to create pie messages.
I was really wishing I hand an ampersand cutter so I could line up pies with P, B, &, J on them!
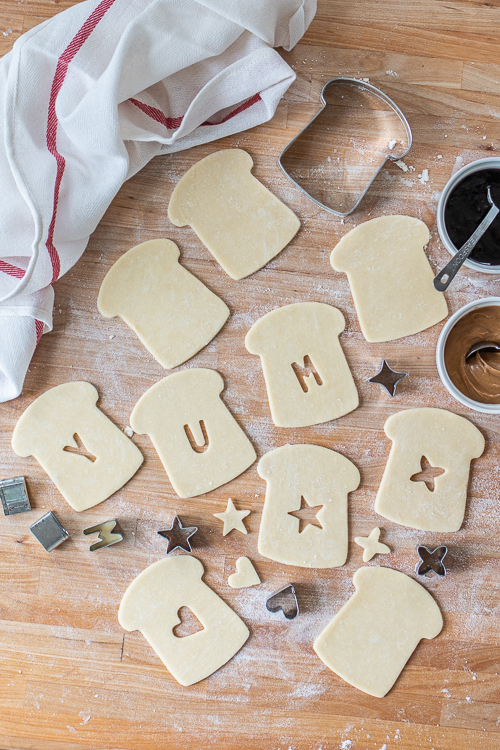 If you’re in the mood to decorate, this would be a great recipe to make with kids since they love to get creative with cookie cutters and dough.
Filling and Sealing Peanut Butter and Jelly Hand Pies
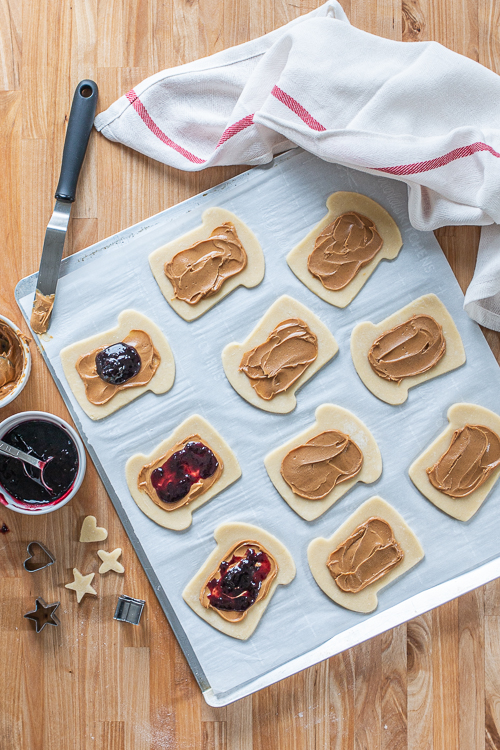
A slightly mounded teaspoon each of peanut butter and jelly works just right in these pies. An offset spatula makes spreading the fillings easy.
Just be sure to leave a margin around the edges of each “slice.” The dough will stick better to itself than peanut butter and jelly.
You want to get a good seal so the filling doesn’t leak out.
 The first time I made these pies, I crimped the edges with a fork, which I usually do when making hand pies.
The crimp marks made them look less like bread slices, so the next time I baked them, I pressed the edges together firmly with my fingers and hoped for the best.
The hand pies — with the exception of one rogue sandwich — held their filling. Even so, it didn’t leak too much. As I’d hoped, they did, indeed, look more slice-like without the fork marks!
 Adding a “Crust” to the Crust
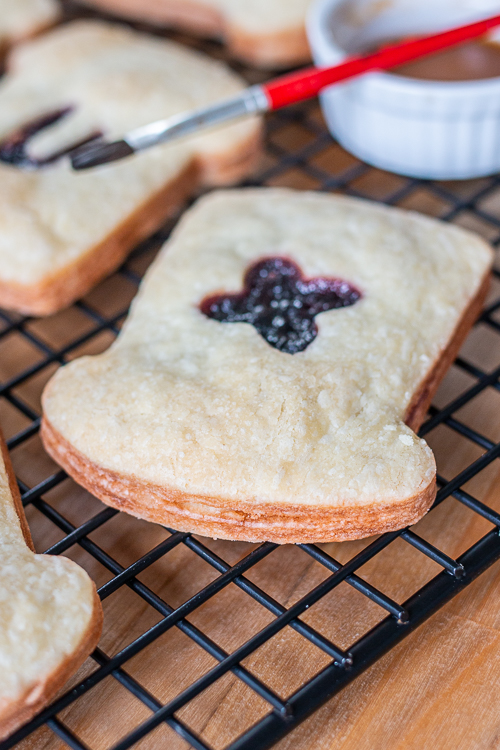
After the pies finish baking, I like to paint the edges with a mixture of brown food coloring and vodka. A golden brown band around the edge adds to the sliced bread look.
On my first try adding color, I painted the edges before baking. Since the pie dough rises up in flaky layers in the hot oven, my paint job looked pretty sad after they finished baking. It works much better to paint the edges after baking.
Just a small amount, applied with a clean, food-safe paintbrush does the trick! The vodka evaporates as it dries, so the pastry stays crisp!
 I’d never tried painting a pie before, and I’m super excited to try something more elaborate and colorful on pastry crust in the future.
If painting the edges of your hand pies feels like too much trouble, just skip this step! No one will know the difference!
In fact, people who prefer having the crusts cut off their sandwiches would probably appreciate it!
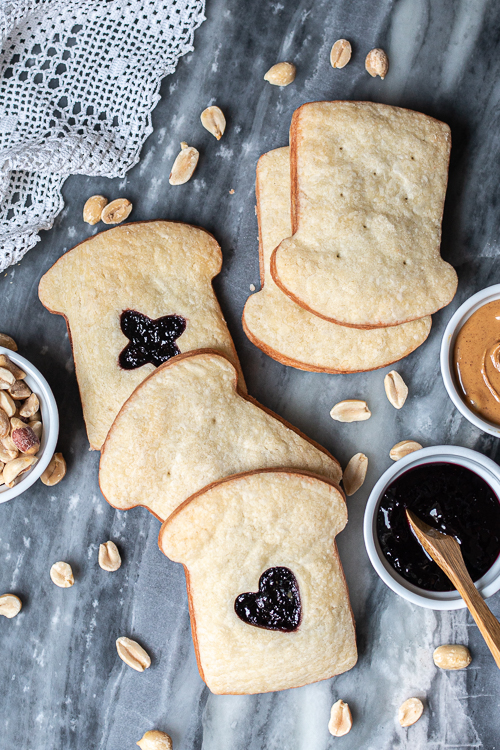 No Bread-Shaped Cutter? No problem!
If you want to make these hand pies but don’t have a bread-shaped cutter, just use a 3 1/2-inch round cutter instead.
You’ll probably be able to cut a few more circles with a round cutter, so you may need a bit more filling.
Reheating Peanut Butter and Jelly Hand Pies
These tasty Peanut Butter and Jelly Hand Pies have been a huge hit at my house. They’re great oven-warm, but honestly, they keep well for several days. After a quick reheat in the toaster oven — a few minutes at 300° F — they taste freshly baked.
This makes them an easy breakfast or snack time treat. My younger daughter has been eating them for breakfast every day since I started experimenting with the recipe. It looks like I may need to keep baking them on a regular basis.
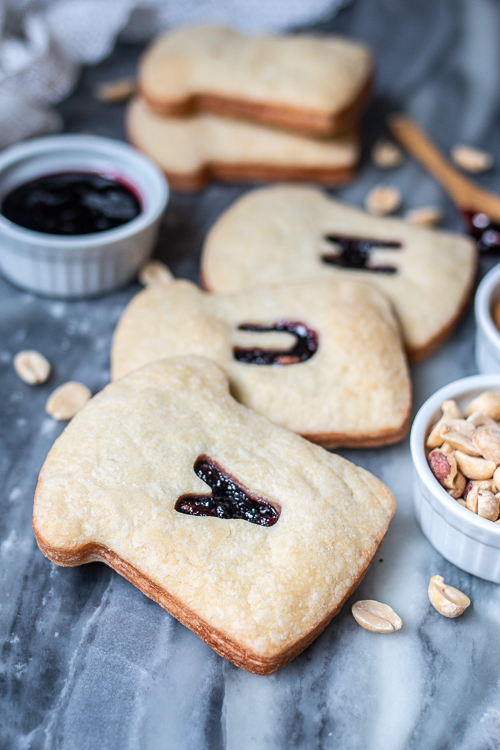 Hooray for Peanut Butter and Jelly Hand Pies any time of day!
Peanut Butter and Jelly Hand Pies
Equipment
Ingredients
- 2 cups unbleached all-purpose flour
- 3 tablespoons confectioners' sugar
- 1/2 teaspoon kosher salt
- 1 cup unsalted butter cut into small pieces
- 1 egg yolk
- 1/4 cup strained ice water plus more for sealing the edges
- 1/4 cup creamy peanut butter
- 1/4 cup jelly or jam
- 1 to 2 tablespoons vodka optional
- 1 to 2 drops brown food gel optional
Instructions
- To prepare the pastry dough, whirl flour, confectioners' sugar, and salt in a food processor with the blade attachment. Add about half of the butter and whirl until no chunks remain. Add remaining slices and whirl briefly to chop them into pea-sized pieces.
- Whisk together the egg yolk and strained ice water. Turn food processor on again and quickly begin drizzling yolk/water mixture through the feed tube, stopping before the dough comes together. Pinch some crumbs together between your fingers; if they don’t stick together, add a bit more water and whirl briefly.
- Turn the mixture out onto a large piece of plastic wrap. Use the plastic wrap to help you bring the dough together; fold the edges of the dough toward the center and press down until it holds together, taking care not to overwork the dough. Divide it in half and shape into two flat disks wrapped tightly in plastic. Refrigerate for at least 30 minutes.
- Preheat oven to 375º F. Line a baking sheet with parchment paper.
- Remove one of the chilled pastry disks from the refrigerator and, on a floured surface, roll the dough to 1/8-inch thickness. Using a 3 ¾-inch slice of bread cookie cutter, cut as many shapes as you can. Roll out the remaining dough and cut additional shapes to make 20 total, re-rolling the scraps as necessary.
- Place 10 of the rounds on the prepared baking sheet. On the remaining rounds, cut vent holes with a sharp knife or miniature cookie cutters. If you prefer a simple look, add vent holes with a sharp skewer after assembling the pies.
- Add a slightly rounded teaspoon of peanut butter to each bottom crust. Spread the peanut butter out with a small offset spatula, keeping a 1/4-inch margin of dough all the way around the edges. Top the peanut butter with slightly rounded teaspoons of jelly or jam and spread it on top of the peanut butter.
- Working one at a time, dampen the 1/4-inch edge of pastry dough on each bottom crust with your finger.
- Gently place a top crust over the filling, lining up the edges carefully. Press the edges together with your fingers. Make a firm seal without flattening out the dough too much.
- Bake the pies until pale golden, about 20 to 25 minutes.
- If desired, mix together the vodka and brown food gel in a small bowl. Using a small paint brush, add the mixture to the pies' edges.
- Let the pies cool for at least 10 minutes before eating as the filling will be quite hot straight from the oven. Serve warm or at room temperature.
Some of the links in this post are affiliate links. If you click through and make a purchase, I earn a small commission for my referral at no additional cost to you. Thank you for supporting Flour Arrangements.
YOU MIGHT ALSO LIKE


Leave a Reply